
HDMI Not Detected on Monitor – Troubleshooting Guide

Most people prefer HDMI cables over VGA and DVI because they support higher resolutions and refresh rates. Although they are great for connecting primary or secondary monitors, there may be instances where one of the displays fails to detect the HDMI signal.
This can be attributed to poor HDMI connection, cable breakage, and driver and graphics card-related problems. As a result, you may encounter a black screen or a No Signal message despite connecting your monitor to an HDMI cable. However, there’s no need to worry as we will discuss the causes and possible solutions to this problem in this article.
Why Is My Monitor Not Detecting HDMI?
If you have turned on your monitor yet cannot see anything on the screen, it could indicate that the display is not receiving the signal. Alternatively, you may have misconfigured the settings if the signal is being received.
There are several potential causes why your monitor may not be detecting HDMI:
- Poor HDMI Connection: If the HDMI cable is not plugged in securely or the connectors are damaged, your monitor may not detect the HDMI signal.
- Cable Breakage: The HDMI cable may be damaged, leading to signal loss. This can occur due to physical damage, such as bending or twisting the cable or internal wiring issues.
- Graphics Card Driver Issues: If the graphics card driver on your computer is outdated or malfunctioning, your monitor may not detect the HDMI signal.
- Graphics Card-Related Issues: Problems with your graphics card, such as incorrect configuration settings or hardware defects, can prevent your monitor from detecting the HDMI signal.
- Monitor-Related Issues: Faulty hardware or settings on your monitor, such as incorrect input source selection, may prevent it from detecting the HDMI signal.
- Incompatible Devices: Some devices may not be compatible with HDMI or require a specific type of HDMI cable, such as HDMI 2.0 or higher, to work properly.
- Power Issues: If the HDMI device is not receiving enough power, your monitor may not detect the HDMI signal.
It’s important to identify the root cause of the problem to determine the appropriate solution.
How to Fix HDMI Monitor Not Detected in Windows 10
Have you ever attempted to connect your computer or another HDMI-compatible device to a monitor only to realize that the monitor is not detecting the HDMI signal? It can be an extremely frustrating experience, particularly when it interferes with your work, media consumption, or gaming experience on a larger screen.
Fortunately, there are several reasons why this issue may occur, and therefore, several potential solutions to consider. In this article, we will guide you through the process of fixing an HDMI monitor that is not detected. We will delve into the underlying causes of the problem and offer step-by-step solutions to get your monitor functioning again.
Check HDMI Cable Connection
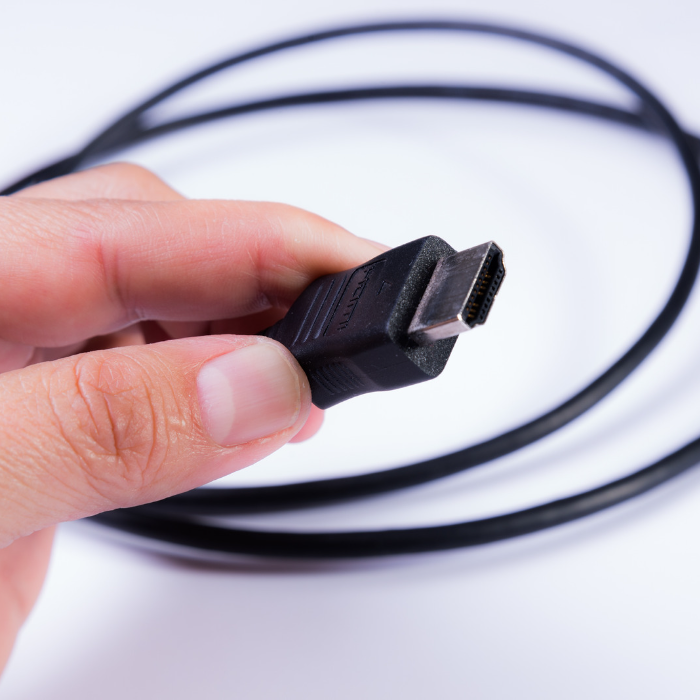
Sometimes, we overlook the importance of securing cable connections, which can result in errors. The initial step in resolving the problem of a monitor not detecting HDMI is to ensure that the cable is securely plugged into the HDMI port of both your CPU and monitor.
If the issue persists despite ensuring a tight connection, examine the HDMI cable for signs of wear and tear. If any cable parts appear frayed or damaged, you may need to replace the cable entirely or temporarily fix the affected area with electrical tape. After taking these steps, connect your HDMI cable again to see if the issue has been resolved.
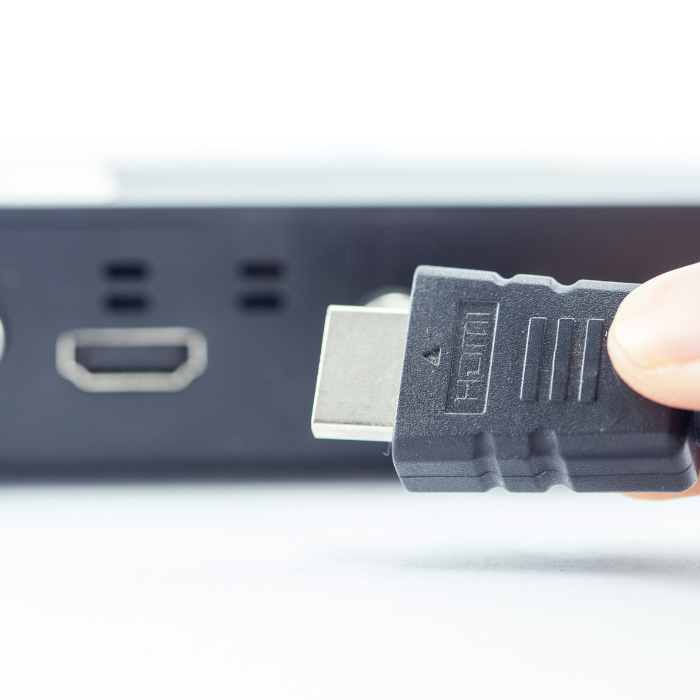
Try Switching HDMI Cable & Port

Determining the exact cause of why our monitor is not displaying content can be difficult. It’s essential to identify the source of the problem, whether it’s related to the HDMI cable, port, or the monitor itself.
One way to determine the issue is by unplugging the cable from the monitor’s HDMI port and plugging it into another port. If this resolves the problem, it indicates that the previous port has an issue that should be marked and avoided.
Additionally, if you have an extra HDMI cable, you can try using it to determine whether there is a problem with the previous adapter. You could also try connecting your PC to a TV to identify any underlying issues within the monitor.
Use the HDMI Port on Your Dedicated Graphics Card
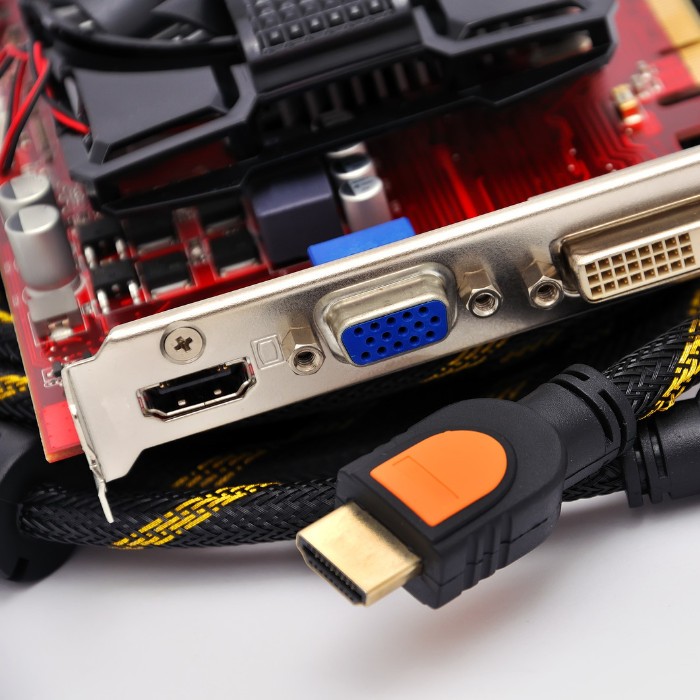
Dedicated graphics cards have a separate slot with necessary ports, so it’s important to plug the HDMI cable into the GPU’s port instead of the motherboard’s port. In some computers with dedicated graphics, all cables must be inserted into the dedicated GPU’s port since it overrides the integrated GPU. However, this is not the case for every PC. It’s important to check the user manual to see which ports are supported.
Restart and Reconnect Your Device
Restarting and reconnecting your devices can be an effective solution for resolving HDMI port issues.
1. Disconnect all HDMI cables from ports.
2. Power off all devices, including computers, monitors, and TV, and unplug their power cables (and battery for laptops).
3. Wait for five minutes and Plug-in power cables (and battery) back into the devices.
4. Reconnect HDMI cables to your devices.
5. Power on the devices and check if the HDMI port works.
Use the Detect Display Option to Connect Any HDMI Monitor Not Detected
Microsoft has incorporated a Detect Display feature in Windows 10, which can be useful in cases where a display is not detected. This is particularly helpful for older monitors or TVs that may not be automatically detected using the default detection method. Here are the steps for manually detecting a display device:
1. Press Windows + I to open the Windows Settings menu.
2. Click on System and select Display from the list.
3. Scroll down to the multiple displays section.
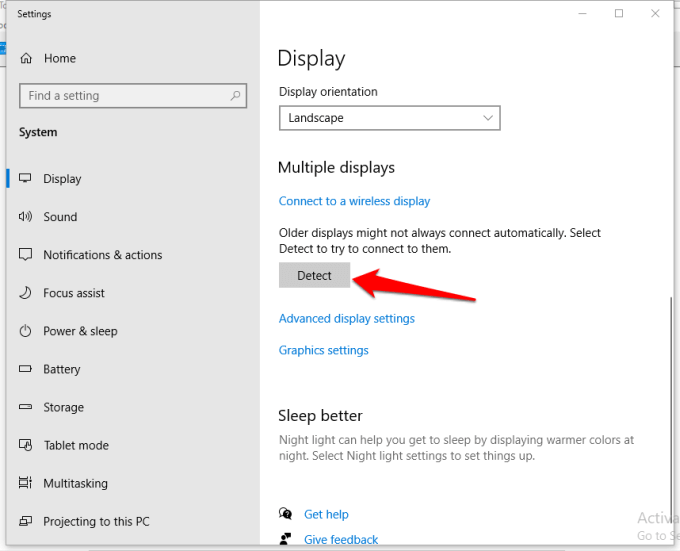
4. Click on the Detect button.
This is a straightforward method that has proven to be effective for many instances where Windows 10 fails to detect an HDMI monitor.
Toggle Between Various Projection Options
Users of Microsoft Windows 10 can project their screen onto various displays using different types of connectors such as VGA, DVI, Mini DisplayPort, and HDMI. Users can press the Windows + P shortcut keys on their keyboard and select the appropriate option.
Alternatively, users can access the Project to Second Screen menu by typing the relevant keywords into the search box in the lower-left corner.
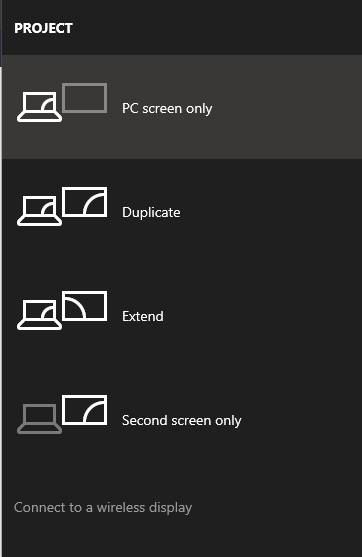
By default, the PC screen–only option is selected, which must be chosen to troubleshoot any issues with an HDMI monitor not detected in Windows 10.
The Duplicate option replicates the content on all connected monitors.
The Extend option allows the user to move desktop contents between two monitors.
The Second screen only option casts the screen on a second display device, such as a projector. This could cause the display not to be detected in Windows 10.
Select the PC screen-only option to prevent the display from reflecting other screens.
Update Display Drivers
Having missing, corrupted, or outdated graphic drivers can prevent the hardware and software from establishing a connection. This is why drivers are crucial. If you are experiencing a problem with Windows 10 not detecting your HDMI monitor, it could be due to the drivers.
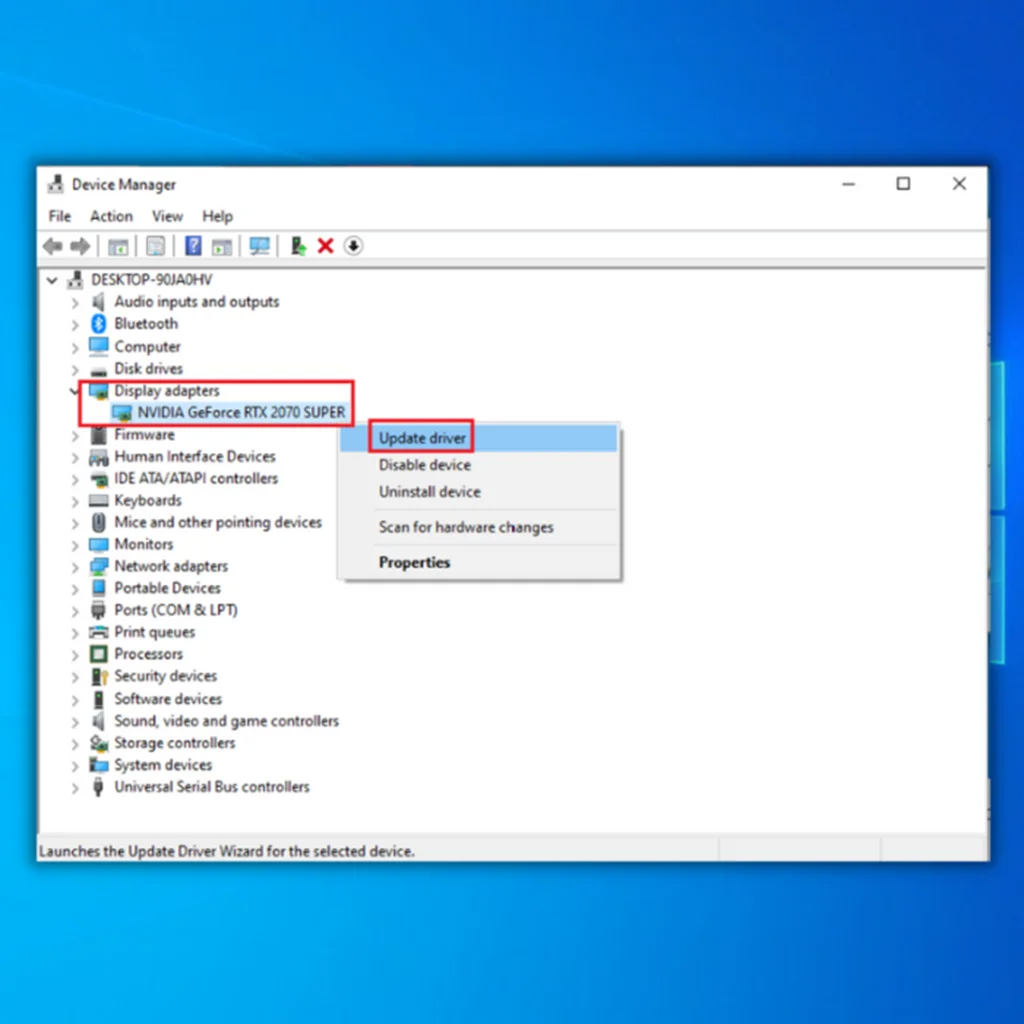
1. Press Windows + R to open the Run box.
2. Type devmgmt.msc and press Enter to open Device Manager.

3. Expand Display adapters, right-click on your graphics driver, and click Update driver.
4. Select Search automatically for updated driver software.
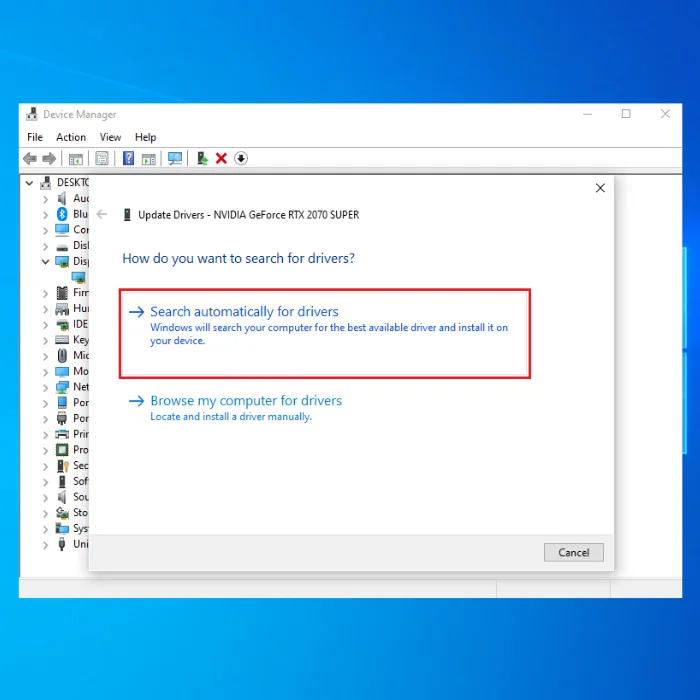
5. Device Manager will look for and download the most recent graphics drivers for the Windows computer from the web.
6. Instead, you can opt for Microsoft Basic Display Adapter by choosing the Browse my computer for driver software option.

7. Next, click Let me pick from a list of available drivers on my computer.

8. Select Microsoft basic display adapter from the list and click the Next button.

Once you have installed the Microsoft Basic Display Adapter, restart your computer, connect the HDMI monitor, and verify if your PC detects the TV or monitor.
Rollback the Display Driver
Rolling back to the previous version of your display adapter may resolve the issue if your secondary monitor was working fine before you updated the adapter. This can be done easily on Windows 11 for NVIDIA, INTEL, or AMD drivers.
1. Press Win + X to access Windows quick access menu and select Device Manager.

2. Expand Display adapters, right-click on your graphics driver, and select Properties.
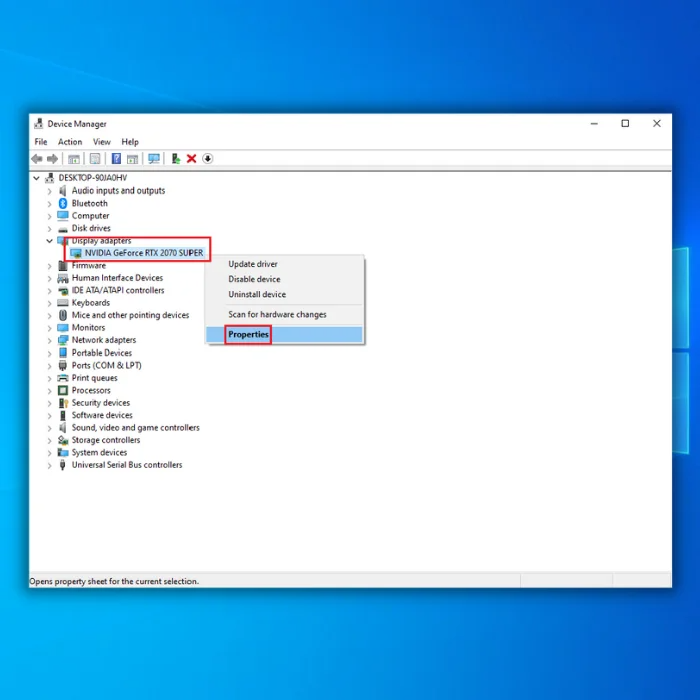
3. Go to the Driver tab and click on Roll Back Driver

4. Restart your PC and check if your monitor is now detecting HDMI.
Modify Graphic Control Properties
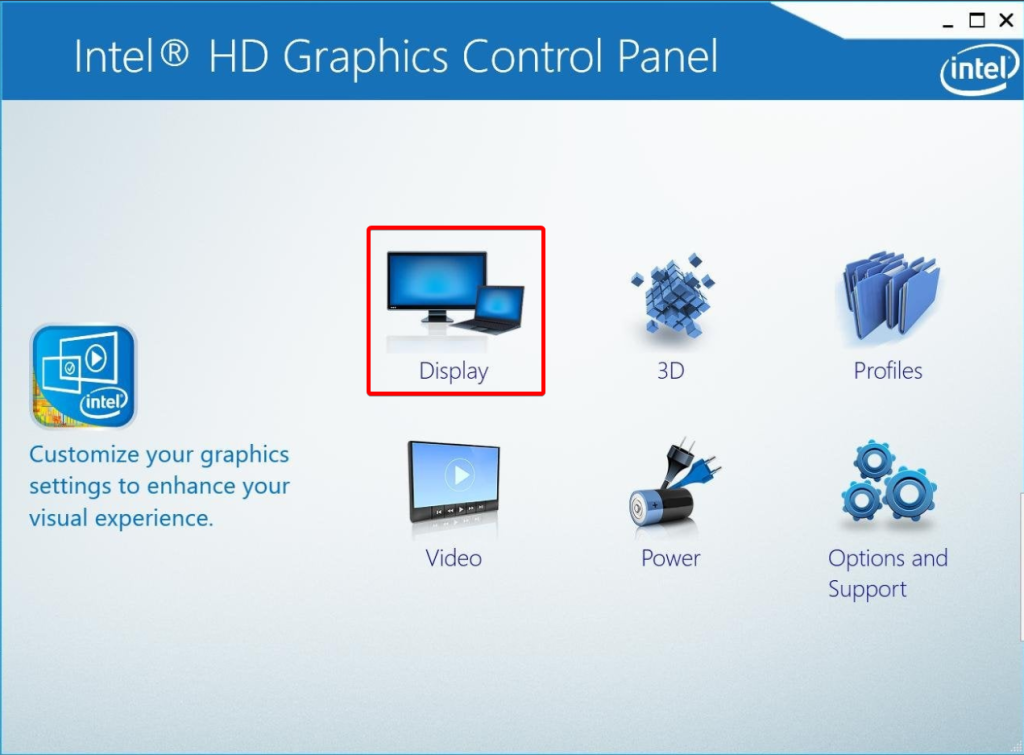
You can manually modify your PC’s Multiple Display Operating Mode using the Intel Graphics Control Panel.
1. Right-click on your desktop to open the context menu.
2. Select Graphics Properties from the options to open the Intel Graphics Control Panel.

3. Choose Display and click on OK.
4. In the Display section, select Multiple Displays.

5. Select your display name from the Operating Mode drop-down button.
If you have an NVIDIA graphics card, you can download a tool to help resolve the Windows 10 not detecting HDMI monitors. Similarly, if you are using AMD, you can download their tool to fix any display not detected in Windows 10.
Try Changing the Refresh Rate
If you have overclocked your monitor’s refresh rate, the secondary display may go black temporarily, but the HDMI signal should not be lost for an extended period. However, if you have overclocked your monitor excessively, a voltage issue may occur, and you may be unable to return to the window. Reducing the refresh rate back to its supported value is best in this situation.
1. To begin with, refer to your monitor manual to determine the maximum refresh rate your monitor can support.
2. Press Win + I to open Windows Settings > System > Display.
3. Click on Advanced display settings.

4. Scroll down to the Refresh rate section, click the drop-down menu, and set the rate to the highest.

Use Hardware and Device Troubleshooter to Fix Monitor Not Detected by PC
If the above methods do not work and the second monitor still does not have sound or signal on a Windows 10 computer, you can use the Hardware and Devices troubleshooter to resolve this problem.
1. Open the Start menu and type control.
2. Open the Control Panel and click on Troubleshooting.

3. Click View All in the upper right corner.
4. Scroll down, select Hardware and Devices, then click Next to run the Troubleshooter.

HDMI Not Detected on Monitor – Solutions to Get Your Display Working
In conclusion, encountering the “HDMI Not Detected on Monitor” error can be frustrating, but you can resolve the issue with the troubleshooting steps provided. By checking cable connections, switching ports, updating drivers, and utilizing troubleshooting tools, you can successfully establish a connection between your device and HDMI monitor. Remember to follow the recommended solutions and enjoy a seamless display experience.