
Network Change Detected Error: Troubleshooting Guide

Refresh the Web Page
The dreaded Network Change Detected error could be one of the most frustrating messages on your computer. This error can cause difficulty connecting to the internet, slow loading times, or even prevent you from accessing certain websites.
Fortunately, refreshing the web page can often fix this issue. Refreshing the web page will essentially re-establish the connection between your computer and the website you are trying to access, allowing you to continue with whatever task you are trying to accomplish.

Restart Google Chrome
If you have been experiencing the ‘Network Change Detected’ error on your Google Chrome browser, restarting the program may help to fix the issue. Whenever you encounter this error, it is generally due to a conflict between the current network environment and the settings stored in the browser. Restarting the program can reset your network environment and re-establish your connection, which can help resolve the error and get you back up and running.
Step 1: Click the Close icon or X in the top right corner.

Step 2: Open the Start menu, search for Google Chrome, and open it.

Restart Your Computer
Restarting your computer can often be a quick and easy way to fix many computer errors, including the “Network Change Detected” error. A recent change usually causes this error in your network configuration or settings. Restarting your computer can help reset your network settings and prevent errors.

Reboot Your Modem
If you are having trouble connecting to the internet and have encountered the Network change error message, it may be time to try rebooting your modem. Rebooting your modem is easy and quick to fix many network connection-related issues. It can help reset the connection between your modem and your internet service provider, allowing you to re-establish and access your internet connection.
Manually unplug the modem device and wait about five minutes. Plug the device back in and wait a few minutes for the network to come online. Then, restart the computer.

Delete Unwanted Networks
Removing unwanted networks from your computer can be a great way to fix network change was detected errors. This error occurs when a computer detects a change in its network settings, such as a new network or a difference in the network settings of an existing network.
By removing any unnecessary networks, you can ensure that the computer is not detecting any unnecessary changes, which will help eliminate the error. Also, removing unused networks can help improve your computer’s performance, as it will no longer be wasting resources trying to connect to networks that are no longer in use.
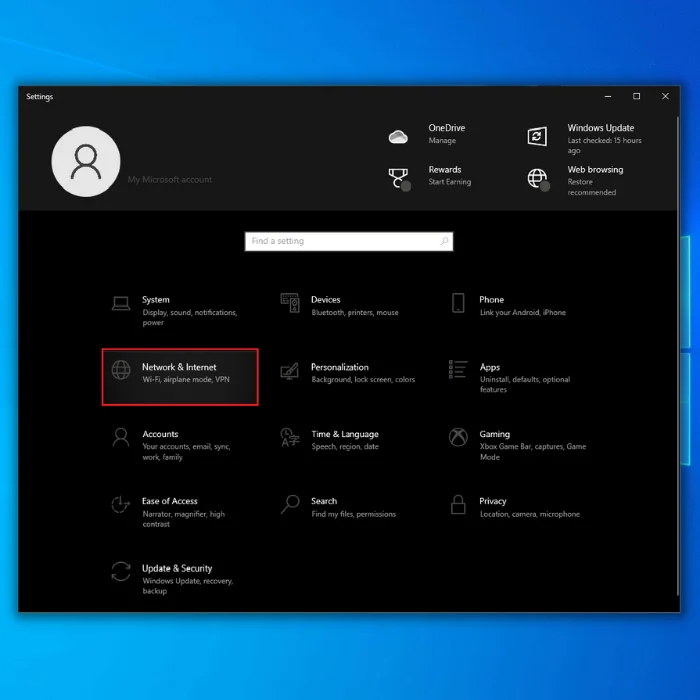
Step 1: Press Win + I to open the Windows Settings.
Step 2: Click Network & Internet.
Step 3: Go to the WI-FI tab and click on Manage known networks.

Step 4: Select an unwanted network on the list and click the Forget button. Repeat this step for each network you want to remove.

Step 5: Relaunch your web browser.
Update Google Chrome Browser
The error usually occurs when the internet connection settings have been changed or when a different network is used. By updating Google Chrome to the latest version, users can ensure their web browser is compatible with their current internet connection and settings. The update may also include bug fixes and other performance improvements that could help prevent the “Network Change Detected” error from occurring.
Step 1: Open Google Chrome and click the three-dots icon at the top right corner.
Step 2: Click Settings > About Chrome.

Step 3: Let Chrome check and install new updates.

Step 4: Close, then relaunch your browser.
Flush the DNS Cache
Flushing the DNS Cache clears the system’s DNS records, allowing it to establish a new connection with the server. This can help resolve the issue quickly without needing to make any additional changes to the system.
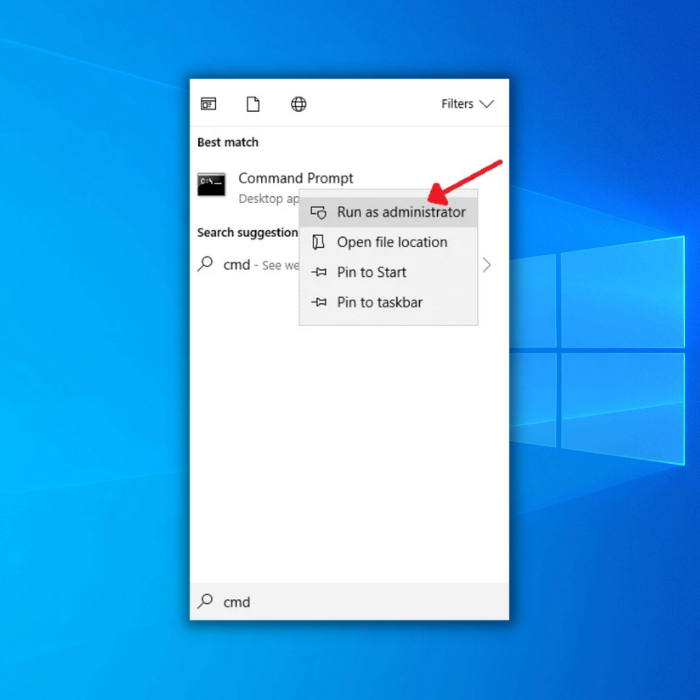
Step 1: Open the Start menu and type cmd.
Step 2: Run the Command prompt as an administrator.
Step 3: Type the following command and press Enter: ipconfig /flushdns

Step 4: Close the Command prompt and open your web browser.
Change the DNS Server Addresses
You can restore the original settings by changing the DNS server addresses, allowing the system to connect to the Internet or other services again. This can be done manually, using the Network Settings panel in the operating system, or automatically, using a third-party DNS server changer tool.
Step 1: Press Win + I to open the Windows Settings.
Step 2: Click Network & Internet.
Step 3: Go to the Status tab and click Change adapter settings.

Step 4: Right-click on your network and select Properties.
Step 5: Select Internet protocol version 4 and click the Properties button.

Step 6: Click on the Use the following DNS server addresses option.
Step 7: For the Preferred DNS server, enter 8.8.8.8, and for the Alternate DNS server, enter 8.8.4.4

Step 8: Click the OK button to save changes and launch your browser.
Clear Browsing Data
Clearing the browsing data is an easy way to ensure the browser is reset to its default settings, allowing it to detect the new IP address or network and reconnect to the internet.
Step 1: Open Chrome and click the three-dots icon at the top right corner.
Step 2: Select Security and Privacy > Clear browsing data.

Step 3: Click Advanced to select the data you want to clear. Select days of data to be cleared first; if that resolves the issue, you won’t have to remove your entire history.
Step 4: After selecting the browsing history data, click the Clear data button.

Step 5: Relaunch your browser.
Repair Your Browser
You may wonder what the best solution is if you have recently encountered the “Network Change Detected” error when using your web browser. Fortunately, repairing your web browser can often help to fix this issue. While this is not the only potential solution, it is a good place to start and can often resolve the problem quickly and easily.
Step 1: Open the Control Panel and select Programs and Features.
Step 2: Scroll down, select your web browser, and click the Repair button.

Step 3: Follow the on-screen instructions to complete the process.
Disable Browser Extensions
The error commonly occurs when changes to the available networks that a computer or device uses or accesses are detected. Using a combination of tools and techniques, including disabling browser extensions, users can attempt to resolve this issue without going through a complete reinstall of the operating system or possibly costly repairs to the computer/device. Disabling browser extensions can help identify the cause of the error and help prevent similar mistakes from occurring.
Step 1: Open Chrome and type chrome://extensions.
Step 2: Toggle disable slider or click the Remove button to delete the extension.

Reset Your Network Settings
If you have experienced an irritating network change and detected an error while trying to connect to the internet, resetting your network settings could be a potential fix. Resetting your network settings can be relatively simple; depending on the type of device you are using, the reset process may vary. However, after the reset, you should easily connect to the internet.
Step 1: Open the Start menu and type cmd.
Step 2: Run the Command prompt as an administrator.

Step 3: Type the following commands and press enter after each command:
ipconfig /release
ipconfig /flushdns
ipconfig /renew
netsh int ip reset
netsh winsock reset
Step 4: Restart your computer.
Disable Proxy Server
Proxy servers and VPNs are commonly used tools that allow people to access the internet privately and securely. However, sometimes these tools can cause unexpected network changes, leading to certain errors.
Disabling the proxy server and VPN can potentially fix the network change detected error by ensuring that the user’s connection to the internet is not being re-routed through any third-party applications or services. This can help resolve any potential issues caused by the proxy and VPN settings and ensure that the user is accessing the internet directly.
Step 1: Press Win + I to open the Windows Settings.
Step 2: Click Network & Internet.
Step 3: Go to the Proxy tab and toggle it off. Use a proxy server.
Update the Network Driver
Network drivers are the essential building blocks of any computer network, allowing many of the features we rely on daily. When problems arise with the functioning of our networks, it is often necessary to update the network drivers to ensure they are performing up to date.
Updating the network drivers can often fix the ‘network change detected’ error, a common issue that affects users when they attempt to access certain programs or files. This error occurs when the network infrastructure has changed, and the driver installed on the device cannot keep up with the changes.
By regularly installing the latest version of the network driver, users can take an active role in keeping their network running optimally and preventing this common error from occurring.
Step 1: Press Win + X and select Device Manager.

Step 2: Click on Network Adapters, right-click on your network, and select Update driver.

Step 3: Select Search automatically for drivers and follow the on-screen instructions to update the driver.
Update Windows
By updating Windows, you can remove potential causes of the error and improve the security and performance of your system. Updating Windows may fix issues and mistakes reported since the last release. Ensuring you are running the latest version of Windows is important to keeping your device and network secure and running efficiently.
Step 1: Press Win + I and click on Updates & Security.
Step 2: Click on the Check for updates button.

Step 3: Download and install the latest updates.
Step 4: Restart your computer.
To Update the Software on Mac Devices:
Step 1: Click the Apple logo from the top left to open the Apple menu.
Step 2: Open System Preferences > Software Update.

Step 3: Click the Update Now button, follow the on-screen instructions, and install the latest updates.
Conclusion: Resolving Network Change Detected Error with Confidence
In conclusion, the Network Change Detected error can be a frustrating experience for anyone browsing the internet. However, with the troubleshooting steps listed above, you can confidently fix the error.
Whether it’s refreshing the web page, updating your browser, or rebooting your modem, these steps can help you get back to browsing the internet seamlessly. By following these steps, you can ensure that your browsing experience remains uninterrupted and stress-free. Remember, if you’re still experiencing issues, don’t hesitate to contact a professional for assistance.