How to Fix Laptop Plugged in but Not Charging on Windows 10
Most of the time everyone prefers to use laptops over desktop computers because laptop offers convenience and you can bring them anywhere.
However, laptops need batteries to function and this means that you need to charge your laptop from time to time in order to use it.
If you are a laptop user, you may have experienced problems charging your laptop. The most common issue for charging laptops is “laptop plugged in but not charging”.
This means that the laptop detects that the charger is plugged in but is unable to charge the battery. This could be a problem because if you cannot charge the battery then you cannot use your laptop.
But don’t worry, in this article, we will show you different methods on how you can solve this issue.
To get started proceed with the first method below.
Method 1: Basic checkup
Before changing system settings make sure to check the following:
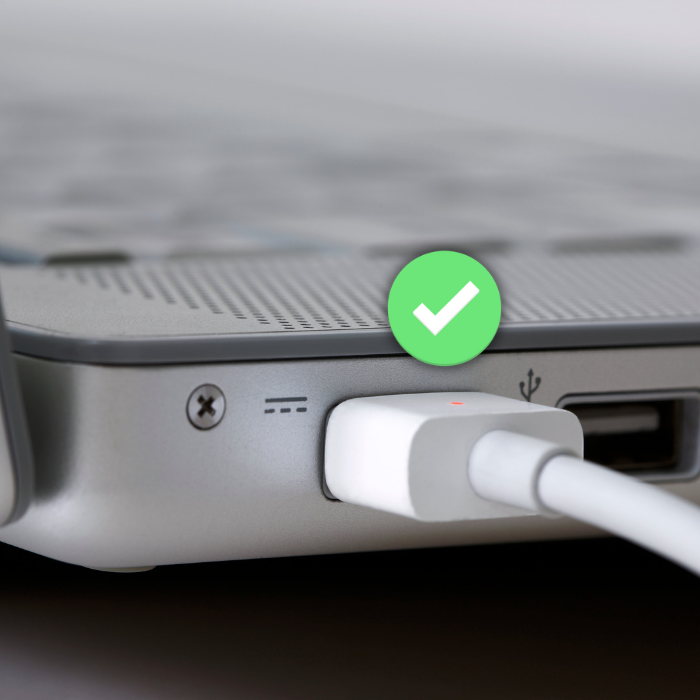
1. Make sure that the ac plug and laptop adapters are connected properly
2. Check the charging port of the laptop and make sure it is clean
3. Check if your laptop’s battery has physical damage

After checking all of this restart your laptop and try charging it again. If the issue is not resolved proceed to the next method.
Method 2: Do a Power Reset
Step 1: Shutdown your laptop

Step 2: Unplug the Charger
Step 3: Remove the battery
Step 4: After removing the battery, press the power button for 10 seconds

Method 3: Run power troubleshooter
Windows has a built-in troubleshooter in case you experience problems charging your laptop.
Step 1: Press on Windows Key and click on settings

Step 2: On the settings page, select Update & Security

Step 3: Click on troubleshoot and wait for the process to finish

Step 4: Restart your laptop and try charging your battery
Method 4: Reinstall Microsoft ACPI-Compliant Control Method Battery
Step 1: Press on Windows key + S and search for the device manager
See Also: What to Do if Windows Search Isn’t Working in Windows 10

Step 2: On the device manager, find the batteries tab and expand it
Step 3: Find Microsoft ACPI-Compliant Control Method Battery
Step 4: Right-click on it and select uninstall

Step 5: Restart your computer and windows will automatically install the updated driver for your battery
If the problem still exists after performing the methods above, the issue could be on your charger or the charging port on your laptop. Visit the nearest service center and have your laptop checked.


![[Solved] Bluetooth Connection Issues in Windows 10](https://cdn.techloris.com/app/uploads/2020/04/image001.jpg)
