![[Full Guide] How to Join a Domain in Windows 10](https://cdn.techloris.com/app/uploads/2023/03/How-to-Join-a-Domain-on-Windows-10.png)
[Full Guide] How to Join a Domain in Windows 10

Joining a domain on Windows 10 is a common task for many organizations that rely on Microsoft’s Active Directory infrastructure to manage their networks. A domain is a centralized location where a network administrator manages and controls users, computers, and other resources. By joining a Windows 10 device to a domain, users can access resources only available within the domain and subject to domain-level policies and permissions.
In this article, we will guide you through joining a domain on Windows 10, including the prerequisites, the different methods available, and some troubleshooting tips to help you overcome common issues.
Why Should You Join a Domain on Windows 10
- Centralized Management: Joining a domain on Windows 10 allows network administrators to centrally manage user accounts, computer configurations, and group policies, making it easier to maintain security and standardization across the network.
- Access to Domain Resources: Once a Windows 10 device is joined to a domain, users can access resources such as printers, files, and applications only available within the domain, providing a more secure and controlled environment for sharing information.
- Simplified Authentication: By joining a domain, users can use a single set of credentials to access all the resources on the network, eliminating the need for multiple usernames and passwords and reducing the risk of security breaches due to weak passwords.
Joining Pre-requisites
To join a domain on Windows 10, the following prerequisites must be met:
- Your computer must run a supported version of Windows 10, such as Windows 10 Pro or Enterprise.
- Having administrative privileges on the computer is required.
- You must have a valid user account and password for the domain you want to join.
- Your computer must have a working network connection to the domain.
- Your computer needs to be able to access the domain controller.
You may need to configure network settings, such as DNS, to enable your computer to communicate with the domain controller.
Connect a PC on Windows 10 to a Domain
- Open the Settings app on your Windows 10 PC by clicking the Start menu and selecting Settings (gear icon).
- Click on System from the available options.

- Click on About from the left-hand menu.
- Scroll down to the bottom of the page and click on the button labeled Join a domain.
In the next window, enter the name of your domain in the Domain field and click on the Next button.

- If prompted, enter the credentials of a domain user account with administrative rights to proceed with the domain join process.

- Wait for the system to verify the credentials and authenticate the computer on the domain.

- Once the authentication is complete, click on the Next button to proceed.
- Review the information on the next screen and click on the Close button.

- Restart your computer to finalize the domain join process.

- On the sign-in screen, enter your domain credentials in the format DOMAIN\Username and your domain password to log in to your account.
- Once logged in, you may notice some changes to the available options in the Settings app, as they are now centrally managed by the domain controller.
Use System Properties
- Press the Windows key + R to open the Run command box. To open System Properties, enter “sysdm.cpl” and hit the Enter key.

2. After selecting the Computer Name tab, click “Change…”.

3. Choose the Domain option, and type the domain name of the Active Directory (AD) server you want to join. Click OK.

4. Enter the credentials of a domain user, and click OK.

5. Restart your computer and sign in to Windows 10 using your domain account.
Use Settings App
- Press the Windows key + I to open the Settings app. Navigate to Accounts -> Access work or school, and click Connect on the right side.

2. Within the pop-up window, choose “Join this device to a local Active Directory domain”.

3. Enter the Active Directory domain’s name and then click Next.

4. Input your domain account username and password, then click OK.
5. Choose your account type to continue. Restart your computer to finalize connecting Windows 10 to the Active Directory domain.
Add Windows 10 to Domain Using PowerShell
- Open PowerShell with administrator rights and type the following command: “Add-Computer -DomainName ‘Domain Name’ -Credential ‘Domain Username'”.

2. Press Enter, then enter your domain user password when prompted.

3. A warning will appear in yellow, stating that you must reboot to finish the task.
Use the GUI
- Open the System Properties control panel applet by running the command sysdm.cpl.
2. Click the Change button on the System Properties screen to open the Computer Name/Domain Changes dialog box.
3. In the dialog box, select the Domain radio option and input the domain name to add the computer to the Domain box. Click OK to proceed.

4. The computer will try to establish communication with a domain controller and join the domain. If the computer cannot contact a domain controller, make sure its DNS server points to a domain controller so it can find the DNS SRV record to locate a domain controller.

5. If the computer can contact a domain controller, it will prompt you for a username and password. Please provide a user account with the necessary permissions to join this computer to the domain, then click the OK button.

6. Once you have successfully added the computer to the domain, a message welcoming you to the domain will appear. Click OK.

7. Click OK again to confirm the need to restart the computer.

8. You will see a warning (Changes will take effect after you restart this computer.) on the System Properties dialog box. Click Close.
9. Finally, Windows will prompt you to restart your computer. To restart the computer immediately, please click on the Restart Now button.

Join a domain in Windows 10 using CMD (Command Prompt)
- Open cmd.exe as an administrator.
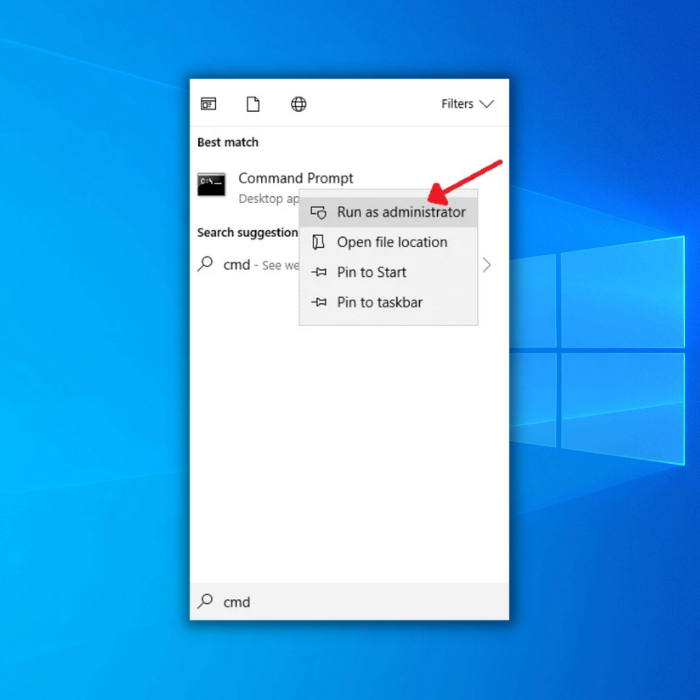
2. Use netdom join command along with the required parameters. Replace the computer name value with the variable %computername% to represent the local computer. Example: netdom.exe join %computername% /domain:DomainName /UserD:DomainName\UserName /PasswordD:Password
3. Restart the computer to complete the joining process after running the command.
Adding Computers Remotely to a Domain
This guide covered adding a computer to a domain while physically at the machine. However, what should you do if you cannot be present or need to add multiple computers? In such cases, PowerShell can be a valuable tool.
You can use the WMI method in PowerShell to remotely add computers to a domain.
- Utilize the Add-Computer PowerShell cmdlet and specify the ComputerName parameter.
- Before running the Add-Computer cmdlet remotely, ensure that PSRemoting is enabled on all target computers. Follow these steps to add a remote computer to a domain:
- Open PowerShell as an administrator on your local workstation (not the computer to be added to the domain).
- Use the following command to add the remote computer “win10demo” to the “homelab.local” domain:
- To incorporate a new computer into the homelab.local domain and restart it, use the following command: Add-Computer -ComputerName win10demo -LocalCredential win10demo\user01 -DomainName homelab.local -Credential homelab\labadmin -Restart
- This command utilizes the local user account “user01” on the “win10demo” computer for authentication and the “labadmin” domain account to authenticate and add the computer account to the domain. The remote computer will restart automatically after completion.
- The Add-Computer cmdlet will prompt for passwords for both the “user01” and “labadmin” accounts.
The Add-Computer cmdlet will not restart the remote computer if a user is logged in by default. To override this behavior, constantly restart the remote computer using the Force switch parameter.
Conclusion
Joining a Windows computer to a domain is an important network management and security process. There are various methods to accomplish this task, each with advantages and disadvantages. Following the correct steps and providing the credentials to ensure a successful domain join is essential.