Recommended: Use Fortect System Repair to repair Vm331avs.sys errors. This repair tool has been proven to identify and fix errors and other Windows problems with high efficiency. Download Fortect here.
- ✓
vm331avs.sys is a system file associated with the VM331 AVStream Camera driver. This driver is responsible for controlling the operation of certain webcams and cameras on Windows-based systems. If this file becomes corrupted or goes missing, it can lead to issues with the connected camera's functionality and may result in error messages or crashes related to the camera software.
Troubleshooting problems related to vm331avs.sys involves identifying and resolving any underlying issues with the camera driver or related software.
Understanding Common Issues with Sys Files
In the heart of many computer glitches lie .sys files, such as vm331avs.sys. Problems can crop up if these files get corrupted, accidentally erased, or find themselves at odds with fresh software installations. These hitches can trigger system instability, sluggish performance, and in more severe cases, the infamous Blue Screen of Death.
- System Crashes: Frequent and sudden system crashes or reboots can be another indicator of corrupted .sys files.
- Blue Screen of Death (BSOD): This is a telltale sign of .sys file issues, where the computer screen turns blue and displays an error message with a specific code.
- Error Pop-ups: These messages related to a .sys file can appear when starting the computer, running certain applications, or installing programs.
- System Slowdown: A corrupted .sys file can also lead to a significant reduction in the performance speed of your computer.
- Hardware or Software Failures: Malfunctioning applications or hardware could suggest that the corresponding .sys file is damaged.
File Analysis: Is Vm331avs.sys a Virus?
The file named vm331avs.sys has successfully passed tests from various virus detection tools with no flagged security issues. This is certainly good news as it minimizes the risk to your computer's overall health and performance.
Maintaining Security
However, even with such reassuring results, not letting your guard down is important. Regular system updates and routine security scans are pivotal in maintaining your computer's security and operational effectiveness. This way, you can continue to confidently use vm331avs.sys as part of your daily computer activities.
How to Remove Vm331avs.sys
If you ever find the need to completely wipe the vm331avs.sys file from your system, follow these steps with caution. Dealing with system files requires careful handling to avoid unexpected system behavior.
-
Locate the File: Start by identifying the location of vm331avs.sys on your computer. You can do this by right-clicking the file (if visible) and selecting Properties, or by using the File Explorer's search feature.
-
Secure Your Data: Before proceeding, ensure you have a backup of important data. This safeguards your essential files in case of any mishaps.
-
Delete the File: Once you've located vm331avs.sys, right-click on it and choose Delete. This action moves the file to the Recycle Bin.
-
Empty the Recycle Bin: After deleting vm331avs.sys, don't forget to empty the Recycle Bin to completely remove the file from your system. Right-click on the Recycle Bin and select Empty Recycle Bin.
-
Verify System Integrity: Following file removal, perform a thorough system scan using a trusted antivirus tool to ensure there are no residual file fragments or potential threats.
Note: Be aware that if vm331avs.sys is associated with a specific program, its removal may impact the program's functionality. If you encounter issues after deletion, consider reinstalling the software or consulting a tech expert for guidance.
Repair Vm331avs.sys Error Automatically

In this guide, we will fix vm331avs.sys and other SYS errors automatically.

-
Click the Download Fortect button.
-
Save the Fortect setup file to your device.

-
Locate and double-click the downloaded setup file.
-
Follow the on-screen instructions to install Fortect.

Update Your Operating System
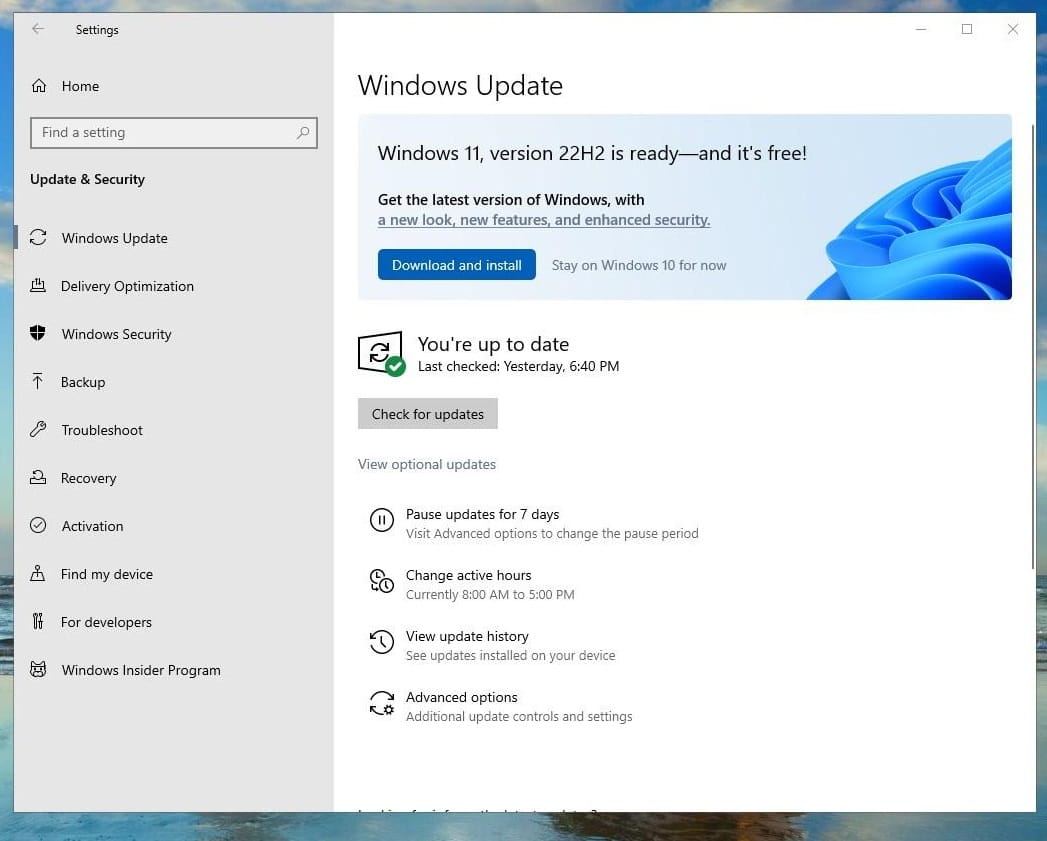
In this guide, we will walk through the process of updating your operating system.

-
On the Windows Update tab, click on Check for updates.
-
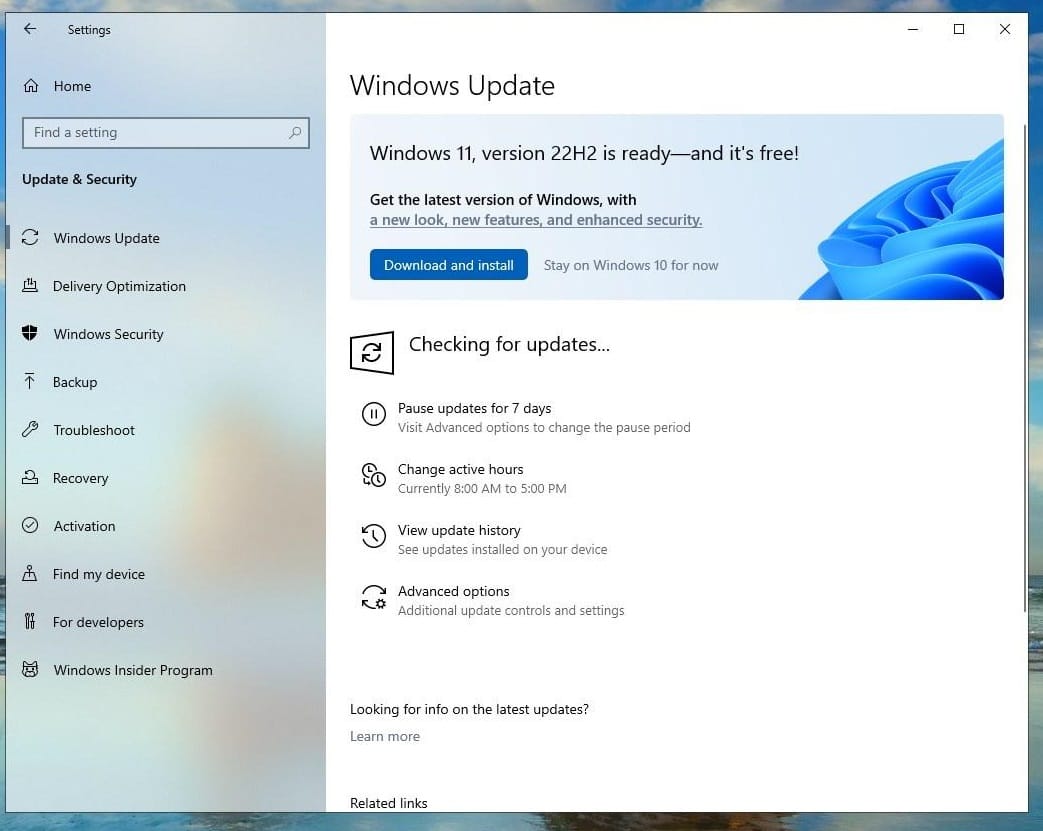
Windows will start searching for updates. If there are any updates available, they will start downloading automatically.
-
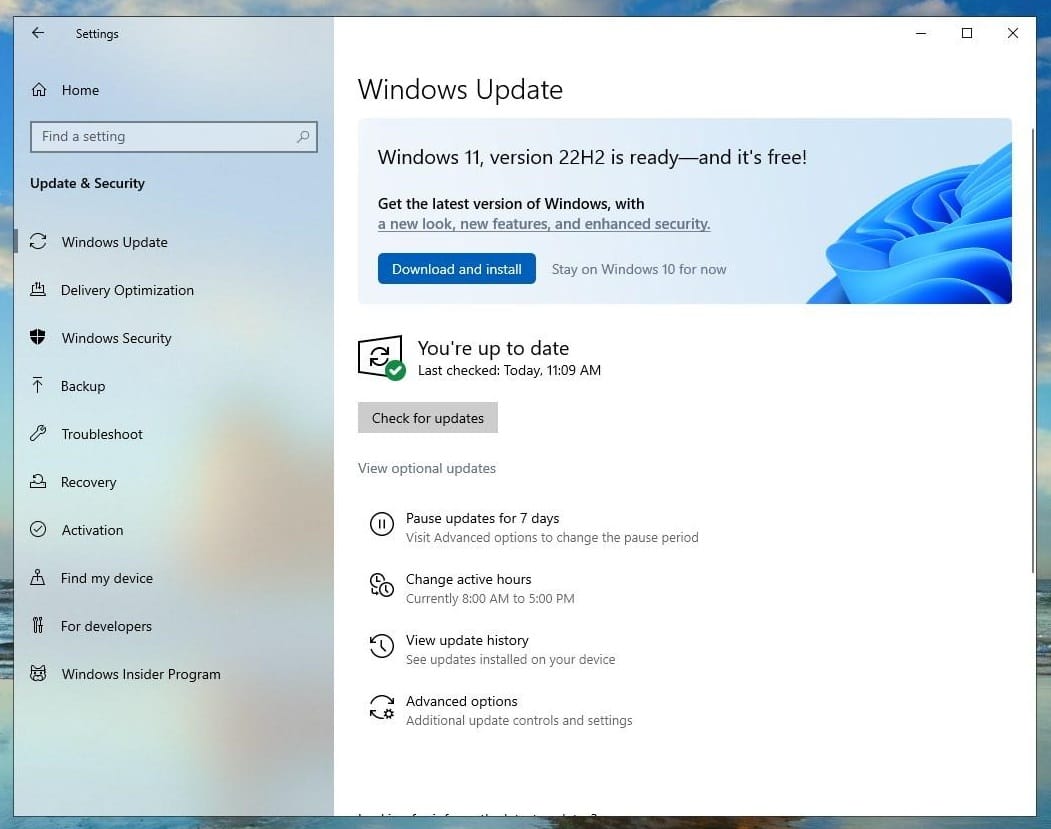
Once the updates are downloaded, click on Install now.
-
Your computer may restart several times during the installation process.

Run the Windows Check Disk Utility
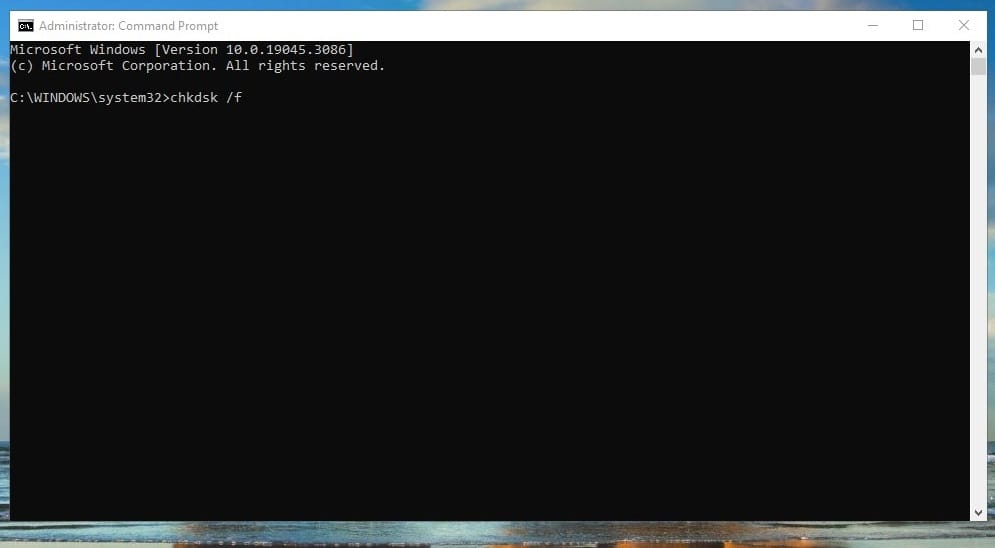
How to use the Check Disk Utility. This is a built-in Windows tool that scans your disk for vm331avs.sys errors.

-
Press the Windows key.
-
Type
Command Promptin the search bar and press Enter. -
Right-click on Command Prompt and select Run as administrator.
-
In the Command Prompt window, type
chkdsk /fand press Enter. -
If the system reports that it cannot run the check because the disk is in use, type
Yand press Enter to schedule the check for the next system restart.

-
If you had to schedule the check, restart your computer for the check to be performed.
Software that installs vm331avs.sys
| Software | File MD5 | File Version |
|---|---|---|
| – | 1.8.1230.0... |