Recommended: Use Fortect System Repair to repair Wptdynint.ocx errors. This repair tool has been proven to identify and fix errors and other Windows problems with high efficiency. Download Fortect here.
- ✓
Wptdynint.ocx is a file that is often associated with Microsoft Word and other Microsoft Office applications. It is a component of the Dynamic Internet Tools software, which is used to integrate web functionality into these programs. The file helps enable features such as hyperlinks, web forms, and other web-based elements within the Office suite.
However, issues with wptdynint.ocx can sometimes cause errors or malfunctions within the software, leading to the need for troubleshooting.
Understanding Common Issues with Ocx Files
An OCX file, utilized as a component or control file by ActiveX forms in Microsoft applications, is typically useful. However, users might encounter a range of issues when managing OCX files. Let's delve into some of the common problems:
- Security Threats: Given that OCX files can hold executable code, they might present security hazards if they come from unverified developers or websites. They could house harmful code capable of jeopardizing a user's system.
- Discrepancies Due to Missing OCX Files: When an OCX file is not present at its specified location, it can cause applications that rely on it to malfunction or produce errors. This typically occurs when the file has been inadvertently deleted or moved.
- Compatibility Difficulties: When an OCX file is designed for a specific version of an application or Windows, it may not interact correctly with other versions. This can result in operational setbacks or even a total failure to load the component.
- Registration Problems: OCX files need to be registered in the Windows registry to function properly. If registration fails, it may lead to errors when the associated application attempts to use the file.
- Issues Stemming from Multiple OCX Files: If a system hosts multiple versions of the same OCX file, it can trigger conflicts that result in errors or a lack of stability in the applications that leverage the file.
File Analysis: Is Wptdynint.ocx a Virus?
Scanning Results
The file in question, wptdynint.ocx, has been thoroughly scanned and shows no signs of virus detection, as evidenced by the clean results from 0 distinct virus scanners. It's always reassuring to encounter files with no known associated threats, as these pose a lesser risk to your system's integrity and performance.
Application Association
This file is part of a software application, suggesting that its functions are primarily tied to the operations of this software. However, as with all system files, it is essential to remain vigilant, ensuring it continues behaving as expected.
Maintaining a Healthy Computing Environment
A healthy computing environment is achieved through attentive management and proactive protective measures. Keep your system's defenses updated and periodically scan files to maintain your computer's security and performance.
- Stay vigilant with system files
- Update your system's defenses regularly
- Periodically scan files for potential threats
How to Remove Wptdynint.ocx
If you find the need to remove the wptdynint.ocx file from your system, follow these steps carefully. When dealing with system files, exercise caution to prevent unexpected system behavior.
-
Locate the File: Begin by identifying the location of wptdynint.ocx on your computer. You can do this by right-clicking the file (if visible) and selecting Properties, or by using the File Explorer's search feature.
-
Safeguard Your Data: Before proceeding, ensure you have a backup of essential data. This ensures the safety of your important files in case anything goes wrong.
-
Delete the File: Once you've located wptdynint.ocx, right-click on it and choose Delete. This action moves the file to the Recycle Bin.
-
Empty the Recycle Bin: After deleting wptdynint.ocx, remember to empty the Recycle Bin to completely remove the file from your system. Right-click on the Recycle Bin and select Empty Recycle Bin.
-
Perform a System Scan: After file removal, conduct a thorough system scan using a trusted antivirus tool to ensure no remnants or potential threats remain.
Note: Keep in mind that if wptdynint.ocx is associated with a program, its removal may affect the program's functionality. If issues arise after deletion, consider reinstalling the software or seeking assistance from a tech professional.
Repair Wptdynint.ocx Error Automatically

In this guide, we will fix wptdynint.ocx and other OCX errors automatically.

-
Click the Download Fortect button.
-
Save the Fortect setup file to your device.

-
Locate and double-click the downloaded setup file.
-
Follow the on-screen instructions to install Fortect.

Run the Windows Check Disk Utility
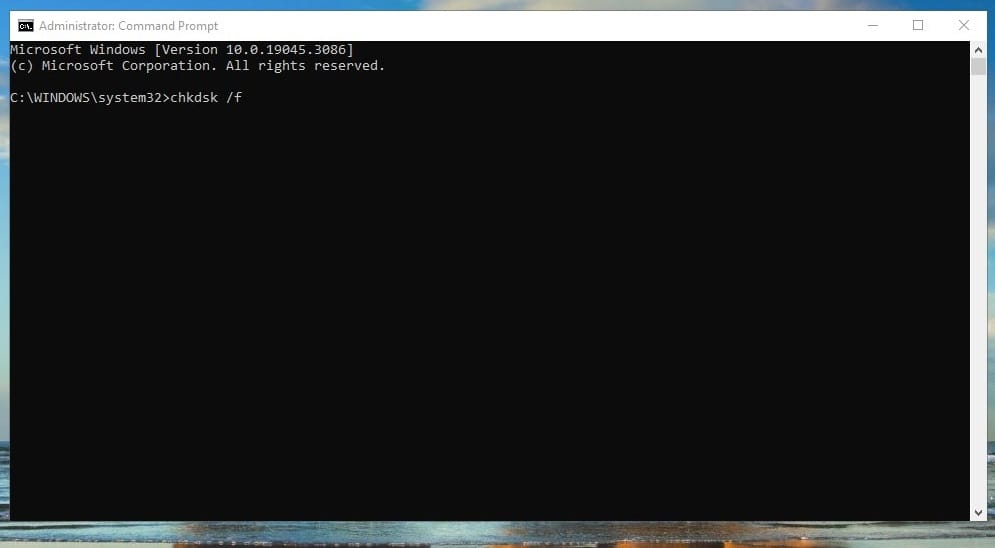
How to use the Check Disk Utility. This Windows tool scans your disk for wptdynint.ocx errors.

-
Press the Windows key.
-
Type
Command Promptin the search bar and press Enter. -
Right-click on Command Prompt and select Run as administrator.
-
In the Command Prompt window, type
chkdsk /fand press Enter. -
If the system reports that it cannot run the check because the disk is in use, type
Yand press Enter to schedule the check for the next system restart.

-
If you had to schedule the check, restart your computer for the check to be performed.

Run the Deployment Image Servicing and Management (DISM) to Fix the wptdynint.ocx Error
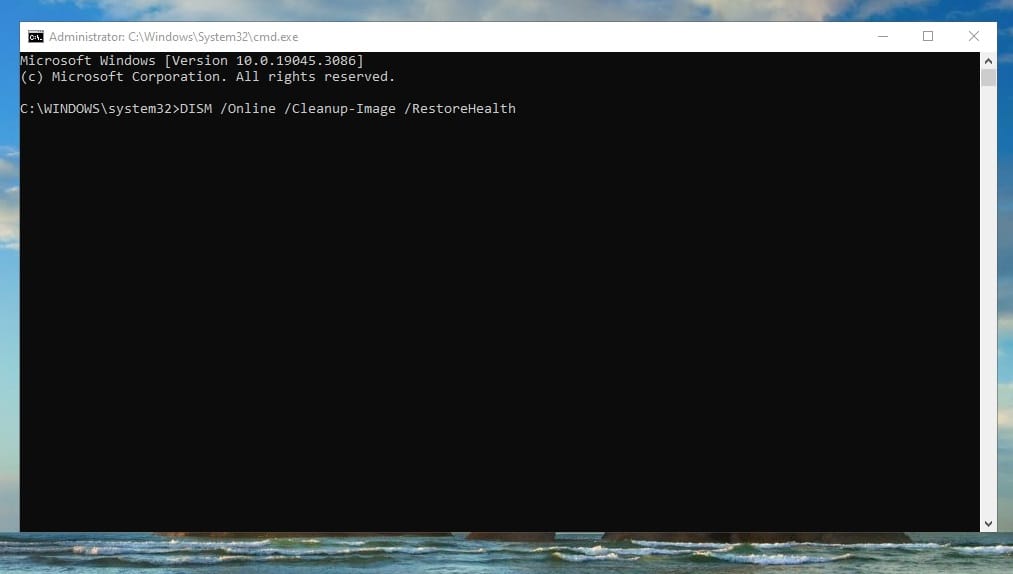
In this guide, we will resolve wptdynint.ocx issues by utilizing the (DISM) tool to scan and repair Windows system files.
-
Press the Windows key.
-
Type
Command Promptin the search bar. -
Right-click on Command Prompt and select Run as administrator.
-
In the Command Prompt window, type
DISM /Online /Cleanup-Image /RestoreHealthand press Enter. -
Allow the Deployment Image Servicing and Management tool to scan your system and correct any errors it detects.

Software that installs wptdynint.ocx
| Software | File MD5 | File Version |
|---|---|---|
| – | 22.02.8861 | |
| – | 22.00.8811 | |
| – | 21.00.8480 | |
| – | 16.00.6228 | |
| – | 8.00.8332 | |
| – | 7.09.7836 | |
| – | 9.00.8468 |