Recommended: Use Fortect System Repair to repair VideoWave9.exe errors. This repair tool has been proven to identify and fix errors and other Windows problems with high efficiency. Download Fortect here.
- ✓
Troubleshooting issues with the VideoWave9.exe file and its associated software, Roxio MyDVD Basic v9, can be frustrating. Common errors, malfunctions, and potential malware concerns may arise when using this file. In this article, we'll explore how to identify and resolve these issues, as well as how to safely uninstall the software if needed.
Common VideoWave9.exe Errors on Windows
Confronting errors linked to VideoWave9.exe can be a daunting task due to the diversity of underlying causes, which might include software incompatibility, obsolete drivers, or even malware presence. In the section below, we've enumerated the most frequently encountered errors related to VideoWave9.exe in order to assist you in comprehending and potentially rectifying the issues.
- Access is Denied: This error message appears when the system refuses permission to a file or resource. This might occur due to insufficient user privileges, file ownership issues, or restrictive file permissions.
- Error 0xc0000142: This alert pops up when an application fails to initiate properly. This could be the result of software glitches, damaged files, or complications with the Windows registry.
- Application Not Found: This warning appears when the desired application cannot be found by the system. This may be due to the application being relocated, removed, or the provided file path being erroneous.
- Runtime Errors: This error message occurs when a program encounters a problem during its execution. This could be due to issues like software bugs, memory leaks, or conflicts with other running programs.
- VideoWave9.exe has Stopped Working: This error message shows up when the executable file is unable to function properly. This could be due to a variety of reasons such as software bugs, conflicts with other programs, or system resource issues.
File Analysis: Is VideoWave9.exe a Virus?
The file named VideoWave9.exe has successfully passed tests from various virus detection tools with no flagged security issues. This is certainly good news as it minimizes the risk to your computer's overall health and performance.
Maintaining Security
However, even with such reassuring results, not letting your guard down is important. Regular system updates and routine security scans are pivotal in maintaining your computer's security and operational effectiveness. This way, you can continue to confidently use VideoWave9.exe as part of your daily computer activities.
How to Remove VideoWave9.exe
Should you need to remove the VideoWave9.exe file from your system, please proceed with the following steps. As always, exercise caution when modifying system files, as inadvertent changes can sometimes lead to unexpected system behavior.
-
Identify the file location: The first step is to find where VideoWave9.exe resides on your computer. You can do this by right-clicking the file (if visible) and choosing Properties or searching for it in the File Explorer.
-
Backup your data: Before making any changes, ensure you have a backup of important data. This way, if something goes wrong, you can restore your data.
-
Delete the file: Once you've located VideoWave9.exe, right-click on it and select Delete. This will move the file to the Recycle Bin.
-
Empty the Recycle Bin: After deleting VideoWave9.exe, don't forget to empty the Recycle Bin to remove the file from your system completely. Right-click on the Recycle Bin and select Empty Recycle Bin.
-
Scan your system: After removing the file, running a full system scan with a trusted antivirus tool is a good idea. This will help ensure no leftover file pieces or other potential threats.
Note: Remember, if VideoWave9.exe is part of a sprogram, removing this file may affect the application's functionality. If issues arise after the deletion, consider reinstalling the software or seek assistance from a tech professional.
Repair VideoWave9.exe Error Automatically

In this guide, we will fix VideoWave9.exe and other EXE errors automatically.

-
Click the Download Fortect button.
-
Save the Fortect setup file to your device.

-
Locate and double-click the downloaded setup file.
-
Follow the on-screen instructions to install Fortect.

Reinstall Problematic Software related to VideoWave9.exe
In this guide, we will detail the process of uninstalling and then reinstalling the software associated with VideoWave9.exe.

-
Press the Windows key.
-
Type
Control Panelin the search bar and press Enter. -
Click on Uninstall a program under Programs.
-
Find and click on the software, then click Uninstall.

-
Visit the official website of the software developer.
-
Download the latest version of the software.
-
Open the downloaded file and follow the instructions to install the software.

Check Your PC for Malware Related to VideoWave9.exe Errors
In this guide, we will walk you through the process of inspecting your computer for malware.
-
Open your antivirus software.
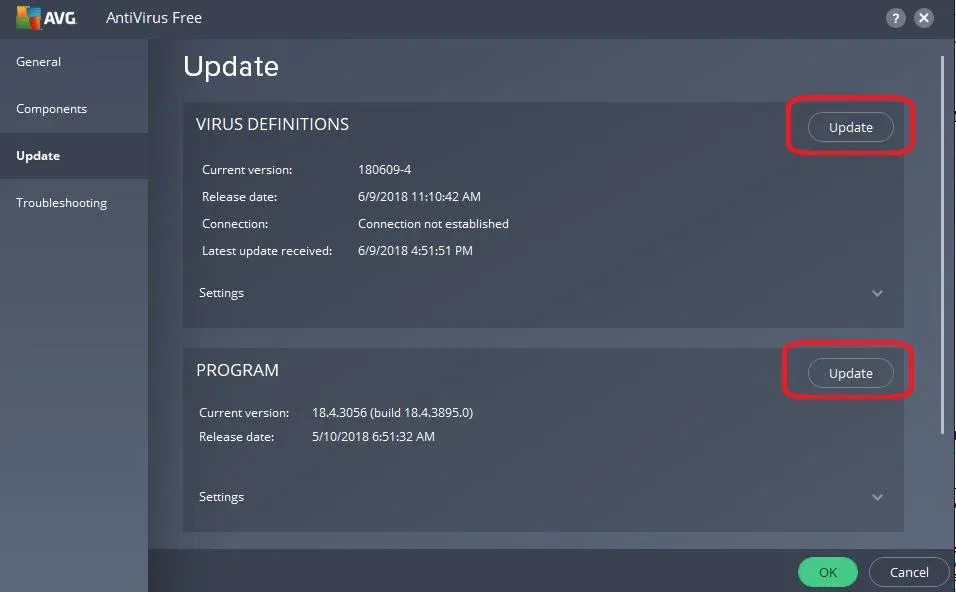
-
Look for an *Update or Check for Updates button and click on it.
-
In your antivirus software, look for an option that says Scan, Full Scan, or something similar.
-
Click on it to start a full system scan. This could take a while, depending on the size of your hard drive.

Software that installs VideoWave9.exe
| Software | File MD5 | File Version |
|---|---|---|
| 76a7668917af1c110da89b2b8b19aef1 | 9.0.551 | |
| – | 9.0.136 | |
| 192fedd2c6f3a18af1255d299697f0e5 | 9.0.021 | |
| f36b8d324e6bf0b00226d0982a30aac6 | 9.1.573 | |
| – | 9.0.116 |