Recommended: Use Fortect System Repair to repair EoCApp.exe errors. This repair tool has been proven to identify and fix errors and other Windows problems with high efficiency. Download Fortect here.
- ✓
If you're having trouble with the EoCApp.exe file, you're not alone. This executable file is associated with the game Divinity: Original Sin, developed by Larian Studios. However, sometimes exe files can encounter errors or even become infected with malware.
In this article, we'll cover common errors, troubleshooting methods, how to deal with malware, and how to uninstall the associated software. Let's get started!
Common EoCApp.exe Errors on Windows
Confronting errors linked to EoCApp.exe can be a daunting task due to the diversity of underlying causes, which might include software incompatibility, obsolete drivers, or even malware presence. In the section below, we've enumerated the most frequently encountered errors related to EoCApp.exe in order to assist you in comprehending and potentially rectifying the issues.
- EoCApp.exe Application Error: This warning appears when the executable application faces a difficulty during its operation. This could be brought about by software errors, damaged associated files, or clashes with other running programs.
- EoCApp.exe has Stopped Working: This error message shows up when the executable file is unable to function properly. This could be due to a variety of reasons such as software bugs, conflicts with other programs, or system resource issues.
- Blue Screen of Death (BSOD): This warning appears when the system experiences a fatal error resulting in a system crash. Potential causes could include hardware failures, issues with drivers, or serious software bugs that undermine the stability of the operating system.
- Access is Denied: This warning pops up when the system denies access to a particular file or resource. Reasons could include limited user permissions, complications with file ownership, or strict file permissions.
- Insufficient System Resources Exist to Complete the Requested Service: This warning is displayed when there are not enough system resources available to execute the service required. This can happen when there is an overconsumption of system memory or high CPU demand.
File Analysis: Is EoCApp.exe a Virus?
The file in question, EoCApp.exe, has been thoroughly scanned and shows no signs of virus detection, as evidenced by the clean results from 0 distinct virus scanners. It's always reassuring to encounter files with no known associated threats, as these pose a lesser risk to your system's integrity and performance.
Maintaining System Security
A healthy computing environment is achieved through attentive management and proactive protective measures. Keep your system's defenses updated and periodically scan files to maintain your computer's security and performance.
How to Remove EoCApp.exe
If it becomes necessary to eliminate the EoCApp.exe file from your system, kindly follow the steps provided below. As with any modification to system files, it's crucial to proceed with care to avoid unintentional changes that may cause unpredicted system responses.
-
Locate the File: Start by finding EoCApp.exe on your system. You can do this by using the search feature in your File Explorer.
-
Protect Your Data: Always have a backup of important data before you make changes to your system files. This keeps your important files safe, even if something goes wrong.
-
Remove the File: Once you've found EoCApp.exe, remove it by right-clicking on the file and choosing Delete. This moves the file to your Recycle Bin.
-
Complete the Deletion: To get rid of EoCApp.exe fully, you must empty your Recycle Bin. Right-click on the Recycle Bin icon and choose Empty Recycle Bin.
-
Check Your System: After you've removed the file, run a full system scan using a trusted antivirus tool. This helps ensure no harmful bits of the file are left behind.
Note: If EoCApp.exe is related to a specific program, deleting it could cause the program to stop working correctly. If you notice any issues after removing the file, you might need to reinstall the software, or you could contact a tech professional.
Repair EoCApp.exe Error Automatically

In this guide, we will fix EoCApp.exe and other EXE errors automatically.

-
Click the Download Fortect button.
-
Save the Fortect setup file to your device.

-
Locate and double-click the downloaded setup file.
-
Follow the on-screen instructions to install Fortect.

Run the Windows Memory Diagnostic Tool
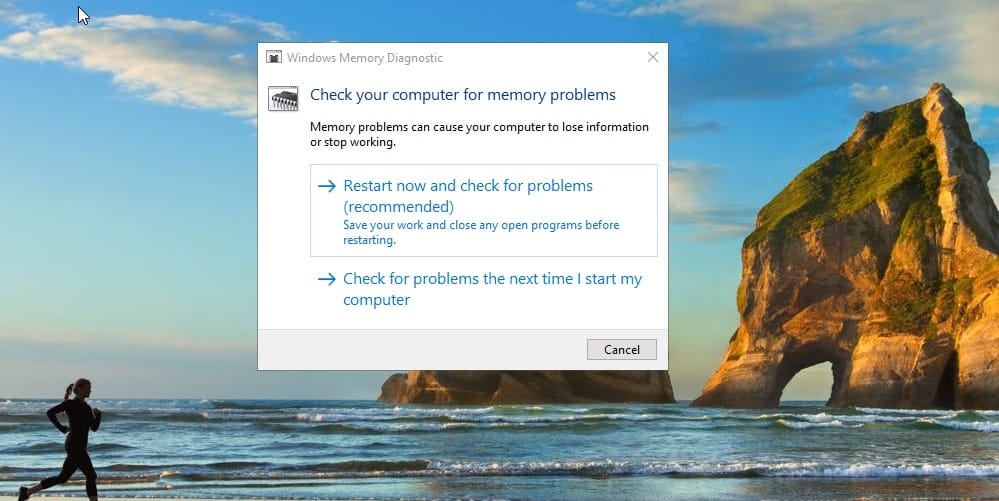
How to run a Windows Memory Diagnostic test to check for EoCApp.exe errors related to memory issues.
-
Press the Windows key.
-
Type
Windows Memory Diagnosticin the search bar and press Enter.
-
In the Windows Memory Diagnostic window, click on Restart now and check for problems (recommended).

-
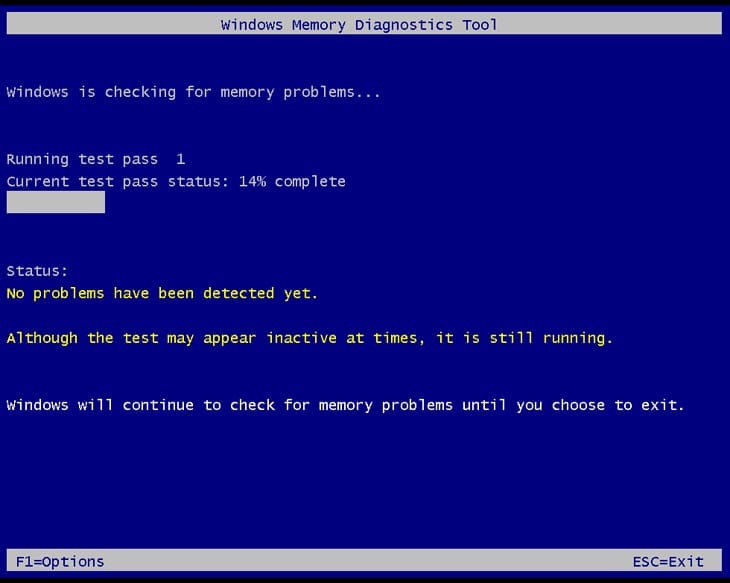
Your computer will restart and the memory diagnostic will run automatically. It might take some time.
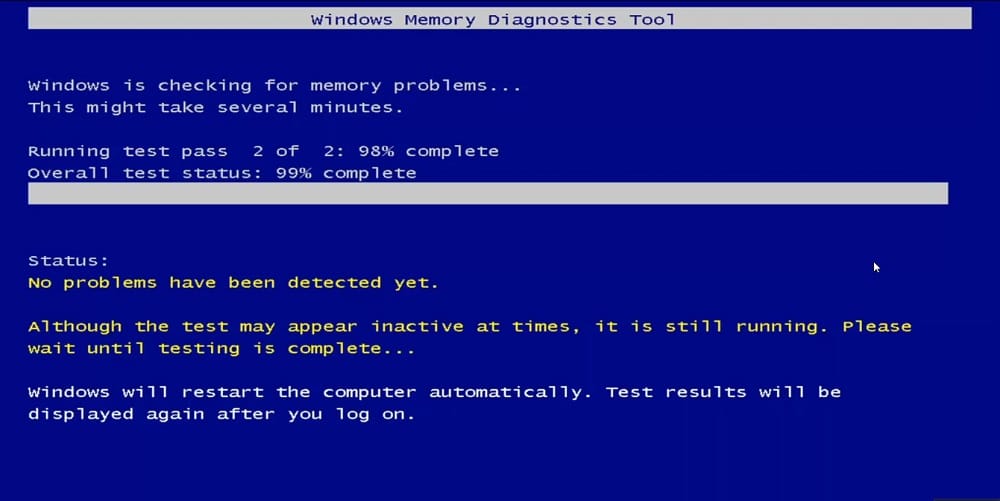
-
After the diagnostic, your computer will restart again. You can check the results in the notification area on your desktop.

Run the Windows Check Disk Utility
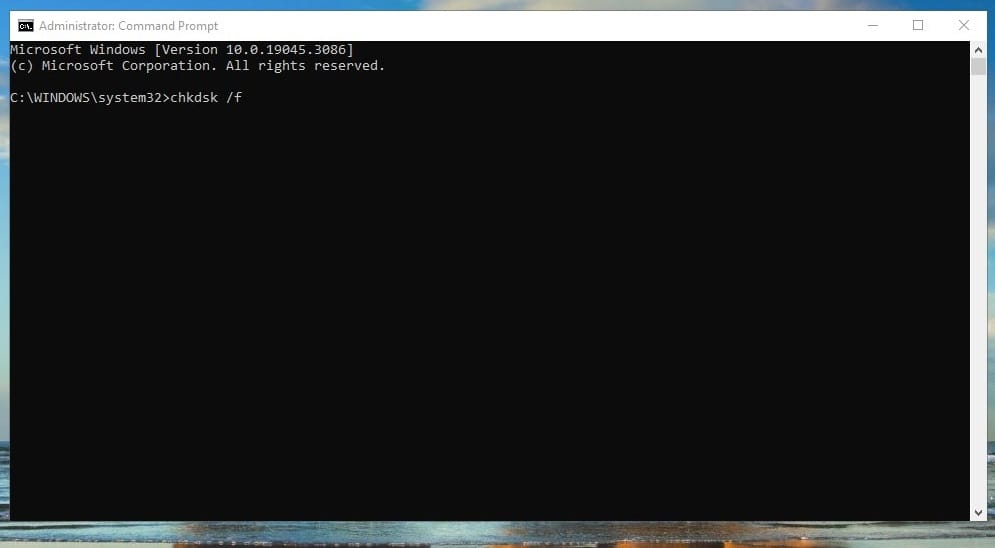
How to use the Windows Check Disk Utility. Scans your disk for EoCApp.exe errors and automatically fix them.

-
Press the Windows key.
-
Type
Command Promptin the search bar and press Enter. -
Right-click on Command Prompt and select Run as administrator.
-
In the Command Prompt window, type
chkdsk /fand press Enter. -
If the system reports that it cannot run the check because the disk is in use, type
Yand press Enter to schedule the check for the next system restart.

-
If you had to schedule the check, restart your computer for the check to be performed.
Software that installs EoCApp.exe
| Software | File MD5 | File Version |
|---|---|---|
| 807eb519b16fe28c9521fa18db5b2c12 | – | |
| 7e931f990f7065a639fed2baf7bba99c | – | |
| 7e931f990f7065a639fed2baf7bba99c | – | |
| 387a7cfacc2b5796b4b342aa50d79ace | – |