Recommended: Use Fortect System Repair to repair LibDXVersion.dll errors. This repair tool has been proven to identify and fix errors and other Windows problems with high efficiency. Download Fortect here.
- ✓
DLL files, like libDXVersion.dll, are essential for Windows systems to run smoothly. They contain code and data that multiple programs can use simultaneously, which helps save memory and reduce duplication. libDXVersion.dll specifically is related to DirectX, a collection of APIs for handling tasks related to multimedia and gaming in Windows.
Users might encounter issues with this file if it's missing, corrupted, or outdated, leading to errors in running certain games or applications. Understanding how to manage and troubleshoot DLL files like libDXVersion.dll can help ensure a better overall computing experience.
What is LibDXVersion.dll?
A DLL (Dynamic Link Library) file is like a recipe book for computer programs. It contains instructions and tools that different software programs can use to perform specific tasks, like displaying graphics or connecting to the internet. When a program needs to perform a certain task, it can call on a DLL file to help it do that task more efficiently.
Now, let's talk about 'libDXVersion.dll.' This file is part of the software 'Dell SupportAssist,' which helps keep Dell computers running smoothly. The libDXVersion.dll file specifically helps Dell SupportAssist work with DirectX, which is a set of tools that many computer programs use to display graphics and play multimedia. So, in short, libDXVersion.dll plays a crucial role in helping Dell SupportAssist work together with DirectX to make sure your Dell computer runs well.
Common Issues and Errors Related to libDXVersion.dll
DLL files, despite their significant role in system functionality, can sometimes trigger system error messages. The subsequent list features some the most common DLL error messages that users may encounter.
- This application failed to start because libDXVersion.dll was not found. Re-installing the application may fix this problem: This error is thrown when a necessary DLL file is not found by the application. It might have been accidentally deleted or misplaced. Reinstallation of the application can possibly resolve this issue by replacing the missing DLL file.
- Cannot register libDXVersion.dll: The message means that the operating system failed to register the DLL file. This can happen if there are file permission issues, if the DLL file is missing or misplaced, or if there's an issue with the Registry.
- The file libDXVersion.dll is missing: The error indicates that the DLL file, essential for the proper function of an application or the system itself, is not located in its expected directory.
- LibDXVersion.dll Access Violation: This message indicates that a program has tried to access memory that it shouldn't. It could be caused by software bugs, outdated drivers, or conflicts between software.
- LibDXVersion.dll could not be loaded: This error signifies that the system encountered an issue while trying to load the DLL file. Possible reasons include the DLL being missing, the presence of an outdated version, or conflicts with other DLL files in the system.
File Analysis: Is LibDXVersion.dll a Virus?
The file named libDXVersion.dll has successfully passed tests from various virus detection tools with no flagged security issues. This is certainly good news as it minimizes the risk to your computer's overall health and performance.
Maintaining Security
However, even with such reassuring results, not letting your guard down is important. Regular system updates and routine security scans are pivotal in maintaining your computer's security and operational effectiveness. This way, you can continue to confidently use libDXVersion.dll as part of your daily computer activities.
How to Remove LibDXVersion.dll
If the need arises to completely eliminate the libDXVersion.dll file from your system, follow these steps cautiously. When dealing with system files, it's crucial to exercise care to avoid unexpected system behavior.
-
Locate the File: Begin by finding the whereabouts of libDXVersion.dll on your computer. You can do this by right-clicking the file (if visible) and selecting Properties, or by employing the search feature in File Explorer.
-
Safeguard Your Data: Before proceeding, ensure you have a backup of important data. This ensures that your vital files are secure in case of any mishaps.
-
Remove the File: Once you've pinpointed libDXVersion.dll, right-click on it and choose Delete. This action moves the file to the Recycle Bin.
-
Empty the Recycle Bin: After deleting libDXVersion.dll, don't forget to empty the Recycle Bin to entirely purge the file from your system. Right-click on the Recycle Bin and select Empty Recycle Bin.
-
Conduct a System Scan: Following the file removal, execute a comprehensive system scan using a reputable antivirus tool to ensure there are no lingering file remnants or potential threats.
Note: It's important to note that if libDXVersion.dll is tied to a specific program, its removal may impact the program's functionality. If you encounter issues post-deletion, consider reinstalling the software or seeking assistance from a tech expert.
Repair LibDXVersion.dll Error Automatically

In this guide, we will fix libDXVersion.dll errors automatically.

-
Click the Download Fortect button.
-
Save the Fortect setup file to your device.

-
Locate and double-click the downloaded setup file.
-
Follow the on-screen instructions to install Fortect.

Run the Windows Check Disk Utility
In this guide, we will explain how to use the Check Disk Utility to fix libDXVersion.dll errors.

-
Press the Windows key.
-
Type
Command Promptin the search bar and press Enter. -
Right-click on Command Prompt and select Run as administrator.
-
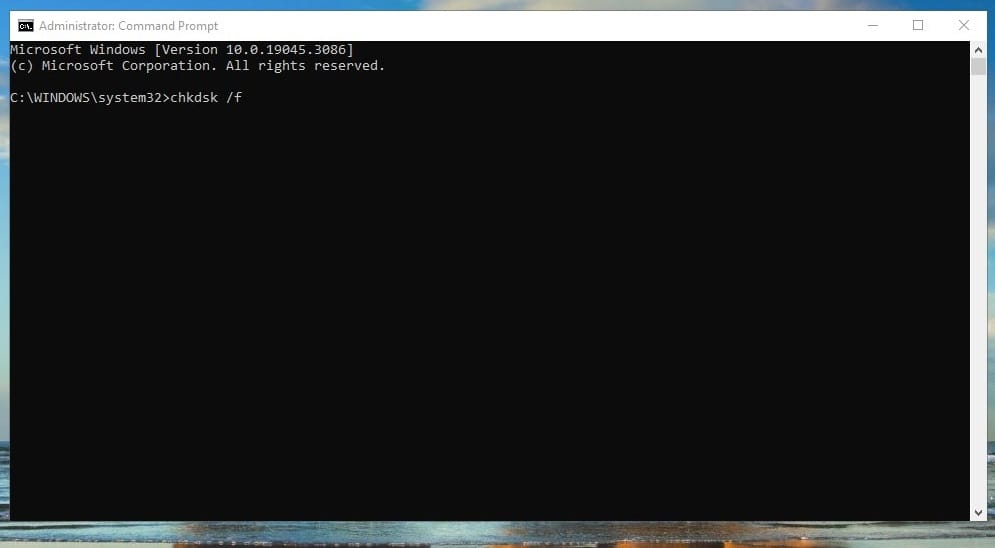
In the Command Prompt window, type
chkdsk /fand press Enter. -
If the system reports that it cannot run the check because the disk is in use, type
Yand press Enter to schedule the check for the next system restart.

-
If you had to schedule the check, restart your computer for the check to be performed.

Perform a Repair Install of Windows

How to perform a repair install of Windows to repair libDXVersion.dll issues.

-
Go to the Microsoft website and download the Windows 10 Media Creation Tool.
-
Run the tool and select Create installation media for another PC.
-
Follow the prompts to create a bootable USB drive or ISO file.
-
Insert the Windows 10 installation media you created into your PC and run setup.exe.
-
Follow the prompts until you get to the Ready to install screen.

-
On the Ready to install screen, make sure Keep personal files and apps is selected.
-
Click Install to start the repair install.

-
Your computer will restart several times during the installation. Make sure not to turn off your computer during this process.
Software that installs libDXVersion.dll
| Software | File MD5 | File Version |
|---|---|---|
| – | 1.3.6817.1... | |
| 65a10c187344ca38fffed1a2d6c54723 | 3.2.6032.1... | |
| – | 6.0.5247.3... | |
| – | 3.3.6280.9... | |
| – | 2.5.09100 | |
| 97aac5ee70d153fa9d57e7243034a999 | 6.0.5512.2... | |
| 3f05e2a0bc5423c7430535a54bc2f583 | 6.0.5426.0... | |
| – | 6.0.5434.0... | |
| – | 6.0.5387.3... | |
| – | 5.1.5435.0... |