Recommended: Use Fortect System Repair to repair CTTrnQU.dll errors. This repair tool has been proven to identify and fix errors and other Windows problems with high efficiency. Download Fortect here.
- ✓
If you're using a Windows computer, you may have come across the term "DLL" before. DLL stands for Dynamic Link Library, and it's a type of file that contains code and data that can be used by multiple programs at the same time. One specific DLL file that you might encounter is CTTrnQU.dll.
This file is important because it contains instructions and data that multiple programs can use simultaneously. It's like a shared resource that helps programs run efficiently. Unfortunately, sometimes DLL files like CTTrnQU.dll can become corrupted or go missing, leading to errors or malfunctions in the programs that rely on them.
Users might encounter error messages or issues with specific applications if there are problems with this DLL file.
What is CTTrnQU.dll?
A Dynamic Link Library (DLL) file, like CTTrnQU.dll, is a collection of code and data that multiple programs can use simultaneously. These files help programs run more efficiently by reusing the same code in different applications. CTTrnQU.dll specifically plays a crucial role in the functioning of Creative MediaSource 5.
This software relies on CTTrnQU.dll to access specific functions and features that are necessary for its proper operation. Without CTTrnQU.dll, Creative MediaSource 5 may not be able to perform certain tasks or may even fail to start altogether. In the context of Creative MediaSource 5, CTTrnQU.dll is essential for enabling various audio and multimedia functions within the software.
It helps to ensure that the program can access and utilize different resources efficiently, making it possible for users to enjoy a seamless and fully functional multimedia experience. Therefore, the presence and proper functioning of CTTrnQU.dll are crucial for the overall performance and usability of Creative MediaSource 5.
Common Issues and Errors Related to CTTrnQU.dll
Although essential for system performance, dynamic Link Library (DLL) files can occasionally cause specific errors. The following enumerates some of the most common DLL errors users encounter while operating their systems:
- CTTrnQU.dll is either not designed to run on Windows or it contains an error: This message indicates that the DLL file is either not compatible with your Windows version or has an internal problem. It could be due to a programming error in the DLL, or an attempt to use a DLL from a different version of Windows.
- This application failed to start because CTTrnQU.dll was not found. Re-installing the application may fix this problem: This error is thrown when a necessary DLL file is not found by the application. It might have been accidentally deleted or misplaced. Reinstallation of the application can possibly resolve this issue by replacing the missing DLL file.
- Cannot register CTTrnQU.dll: This error is indicative of the system's inability to correctly register the DLL file. This might occur due to issues with the Windows Registry or because the DLL file itself is corrupt or improperly installed.
- The file CTTrnQU.dll is missing: The error indicates that the DLL file, essential for the proper function of an application or the system itself, is not located in its expected directory.
- CTTrnQU.dll not found: This error message suggests that the DLL file required for a certain operation or program is not present in your system. It may have been unintentionally removed during a software update or system cleanup.
File Analysis: Is CTTrnQU.dll a Virus?
Scanning Results
The file in question, CTTrnQU.dll, has been thoroughly scanned and shows no signs of virus detection, as evidenced by the clean results from 0 distinct virus scanners. It's always reassuring to encounter files with no known associated threats, as these pose a lesser risk to your system's integrity and performance.
Application Association
This file is part of a software application, suggesting that its functions are primarily tied to the operations of this software. However, as with all executable files, it is essential to remain vigilant, ensuring it continues behaving as expected.
Maintaining a Healthy Computing Environment
A healthy computing environment is achieved through attentive management and proactive protective measures. Keep your system's defenses updated and periodically scan files to maintain your computer's security and performance.
- Stay vigilant with executable files
- Update your system's defenses regularly
- Periodically scan files for potential threats
How to Remove CTTrnQU.dll
Should the need arise to completely erase the CTTrnQU.dll file from your system, adhere to these steps with caution. When dealing with system files, exercising care is paramount to avoid unexpected system behavior.
-
Locate the File: Begin by identifying the location of CTTrnQU.dll on your computer. You can achieve this by right-clicking the file (if visible) and selecting Properties, or by utilizing the File Explorer's search functionality.
-
Protect Your Data: Before proceeding, ensure you have a backup of important data. This step safeguards your essential files in case of unforeseen complications.
-
Delete the File: Once you've pinpointed CTTrnQU.dll, right-click on it and choose Delete. This action transfers the file to the Recycle Bin.
-
Empty the Recycle Bin: After deleting CTTrnQU.dll, remember to empty the Recycle Bin to completely purge the file from your system. Right-click on the Recycle Bin and select Empty Recycle Bin.
-
Verify System Health: Following file removal, perform a thorough system scan using a trusted antivirus tool to ensure no residual file fragments or potential threats remain.
Note: Keep in mind that if CTTrnQU.dll is associated with a specific program, its removal may impact the program's functionality. If issues arise after deletion, consider reinstalling the software or seeking assistance from a tech professional.
Repair CTTrnQU.dll Error Automatically

In this guide, we will fix CTTrnQU.dll errors automatically.

-
Click the Download Fortect button.
-
Save the Fortect setup file to your device.

-
Locate and double-click the downloaded setup file.
-
Follow the on-screen instructions to install Fortect.

Perform a Repair Install of Windows

How to perform a repair install of Windows to repair CTTrnQU.dll issues.

-
Go to the Microsoft website and download the Windows 10 Media Creation Tool.
-
Run the tool and select Create installation media for another PC.
-
Follow the prompts to create a bootable USB drive or ISO file.
-
Insert the Windows 10 installation media you created into your PC and run setup.exe.
-
Follow the prompts until you get to the Ready to install screen.

-
On the Ready to install screen, make sure Keep personal files and apps is selected.
-
Click Install to start the repair install.

-
Your computer will restart several times during the installation. Make sure not to turn off your computer during this process.

Run the Windows Memory Diagnostic Tool
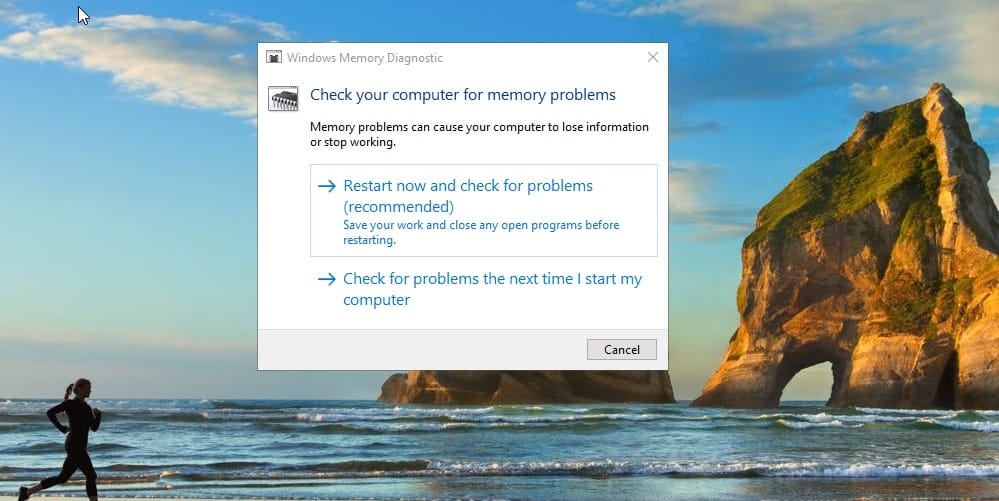
How to run a Windows Memory Diagnostic test. If the CTTrnQU.dll error is related to memory issues it should resolve the problem.
-
Press the Windows key.
-
Type
Windows Memory Diagnosticin the search bar and press Enter.
-
In the Windows Memory Diagnostic window, click on Restart now and check for problems (recommended).

-
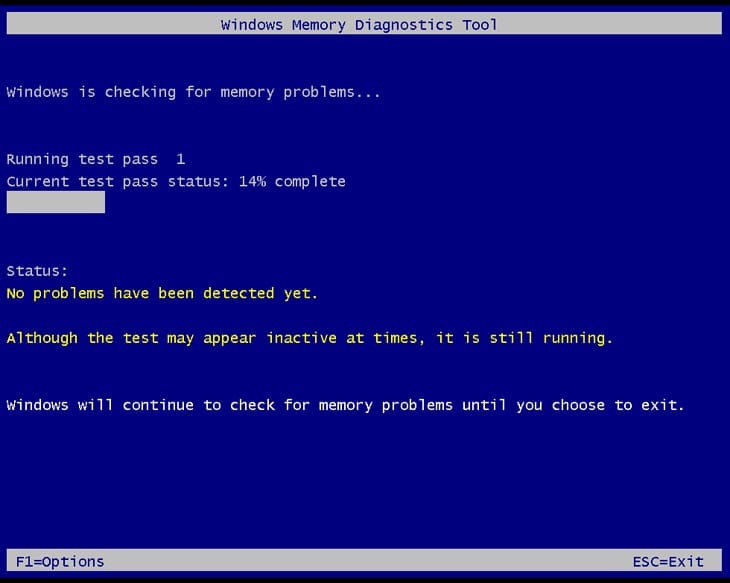
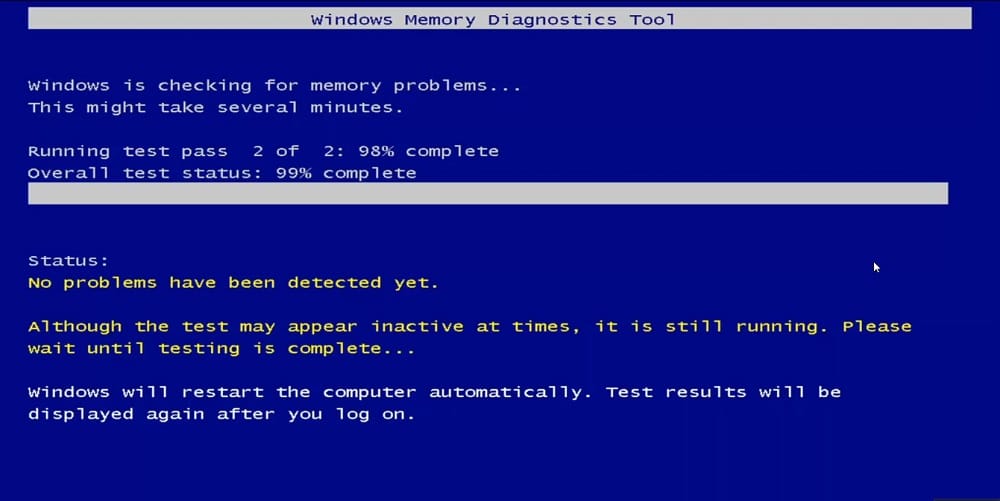
Your computer will restart and the memory diagnostic will run automatically. It might take some time.
-
After the diagnostic, your computer will restart again. You can check the results in the notification area on your desktop.
Software that installs CTTrnQU.dll
| Software | File MD5 | File Version |
|---|---|---|
| 44d2c3497f1ff7e39508f77b306871f6 | 5.26 |