Recommended: Use Fortect System Repair to repair 9treghk.dll errors. This repair tool has been proven to identify and fix errors and other Windows problems with high efficiency. Download Fortect here.
- ✓
A DLL file, short for Dynamic Link Library, is a type of file that contains code and data that can be used by multiple programs at the same time. 9treghk.dll is a specific DLL file that is used by certain software applications to perform specific functions. It plays a significant role in the proper functioning of these applications.
Users may encounter issues with 9treghk.dll such as missing file errors, which can prevent the associated program from running correctly. It's important to understand the role of 9treghk.dll and how to address any potential issues that may arise.
What is 9treghk.dll?
A DLL (Dynamic Link Library) file is a type of file that contains code and data that can be used by multiple programs at the same time. These files are essential for the smooth operation of software and the overall functioning of the Windows operating system. The 9treghk.dll file is a specific DLL file that is likely associated with the software Internet Speed Tracker Internet Explorer Toolbar.
Its primary role is to provide additional functionality and features to the toolbar, such as tracking and displaying internet speed information within the Internet Explorer web browser. The 9treghk.dll file is crucial for the proper functioning of the Internet Speed Tracker Internet Explorer Toolbar because it contains the code and resources necessary for the toolbar to work as intended. Without this DLL file, the toolbar may not be able to perform its core functions and could potentially lead to errors or malfunctions within the software.
Therefore, it is important to ensure that the 9treghk.dll file is present and properly configured to guarantee the smooth operation of the Internet Speed Tracker Internet Explorer Toolbar.
Common Issues and Errors Related to 9treghk.dll
DLL files, fundamental to our systems, can sometimes lead to unexpected errors. Here, we provide an overview of the most frequently encountered DLL-related errors.
- This application failed to start because 9treghk.dll was not found. Re-installing the application may fix this problem: This error occurs when an application tries to access a DLL file that doesn't exist in the system. Reinstalling the application can restore the missing DLL file if it was included in the original software package.
- 9treghk.dll could not be loaded: This means that the DLL file required by a specific program or process could not be loaded into memory. This could be due to corruption of the DLL file, improper installation, or compatibility issues with your operating system.
- Cannot register 9treghk.dll: This denotes a failure in the system's attempt to register the DLL file, which might occur if the DLL file is damaged, if the system lacks the necessary permissions, or if there's a conflict with another registered DLL.
- 9treghk.dll not found: The system failed to locate the necessary DLL file for execution. The file might have been deleted or misplaced.
- 9treghk.dll Access Violation: This points to a situation where a process has attempted to interact with 9treghk.dll in a way that violates system or application rules. This might be due to incorrect programming, memory overflows, or the running process lacking necessary permissions.
File Analysis: Is 9treghk.dll a Virus?
The file in question, 9treghk.dll, has been thoroughly scanned and shows no signs of virus detection, as evidenced by the clean results from 0 distinct virus scanners. It's always reassuring to encounter files with no known associated threats, as these pose a lesser risk to your system's integrity and performance.
Maintaining System Security
A healthy computing environment is achieved through attentive management and proactive protective measures. Keep your system's defenses updated and periodically scan files to maintain your computer's security and performance.
How to Remove 9treghk.dll
If the need arises to completely eliminate the 9treghk.dll file from your system, follow these steps cautiously. When dealing with system files, it's crucial to exercise care to avoid unexpected system behavior.
-
Locate the File: Begin by finding the whereabouts of 9treghk.dll on your computer. You can do this by right-clicking the file (if visible) and selecting Properties, or by employing the search feature in File Explorer.
-
Safeguard Your Data: Before proceeding, ensure you have a backup of important data. This ensures that your vital files are secure in case of any mishaps.
-
Remove the File: Once you've pinpointed 9treghk.dll, right-click on it and choose Delete. This action moves the file to the Recycle Bin.
-
Empty the Recycle Bin: After deleting 9treghk.dll, don't forget to empty the Recycle Bin to entirely purge the file from your system. Right-click on the Recycle Bin and select Empty Recycle Bin.
-
Conduct a System Scan: Following the file removal, execute a comprehensive system scan using a reputable antivirus tool to ensure there are no lingering file remnants or potential threats.
Note: It's important to note that if 9treghk.dll is tied to a specific program, its removal may impact the program's functionality. If you encounter issues post-deletion, consider reinstalling the software or seeking assistance from a tech expert.
Repair 9treghk.dll Error Automatically

In this guide, we will fix 9treghk.dll errors automatically.

-
Click the Download Fortect button.
-
Save the Fortect setup file to your device.

-
Locate and double-click the downloaded setup file.
-
Follow the on-screen instructions to install Fortect.

Update Your Device Drivers

In this guide, we outline the steps necessary to update the device drivers on your system.
-
Press the Windows key.
-
Type
Device Managerin the search bar and press Enter.
-
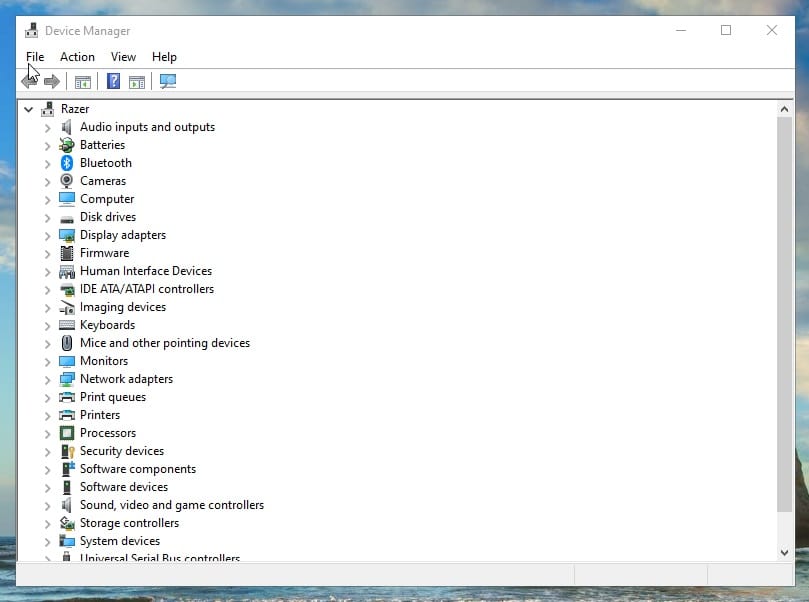
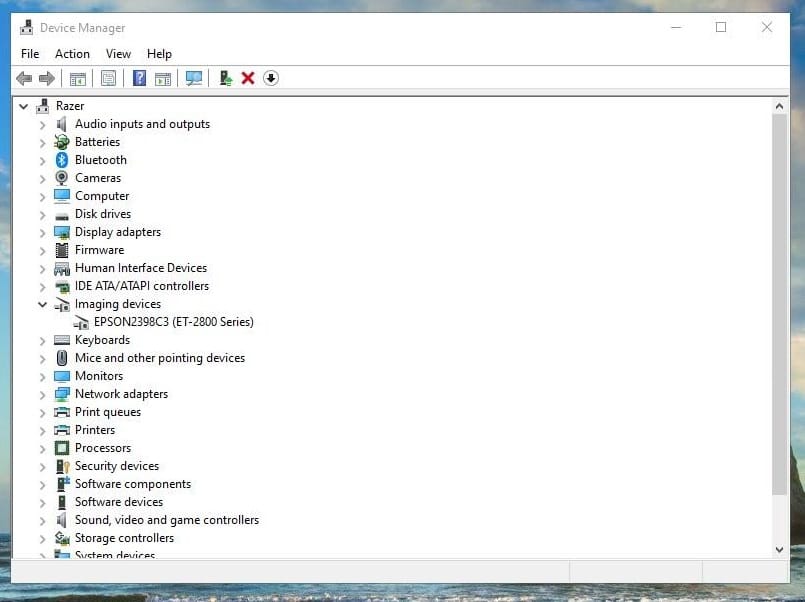
In the Device Manager window, locate the device whose driver you want to update.
-
Click on the arrow or plus sign next to the device category to expand it.
-
Right-click on the device and select Update driver.
-
In the next window, select Search automatically for updated driver software.
-
Follow the prompts to install the driver update.

Perform a Clean Boot
How to perform a clean boot. This can isolate the issue with 9treghk.dll and help resolve the problem.


-
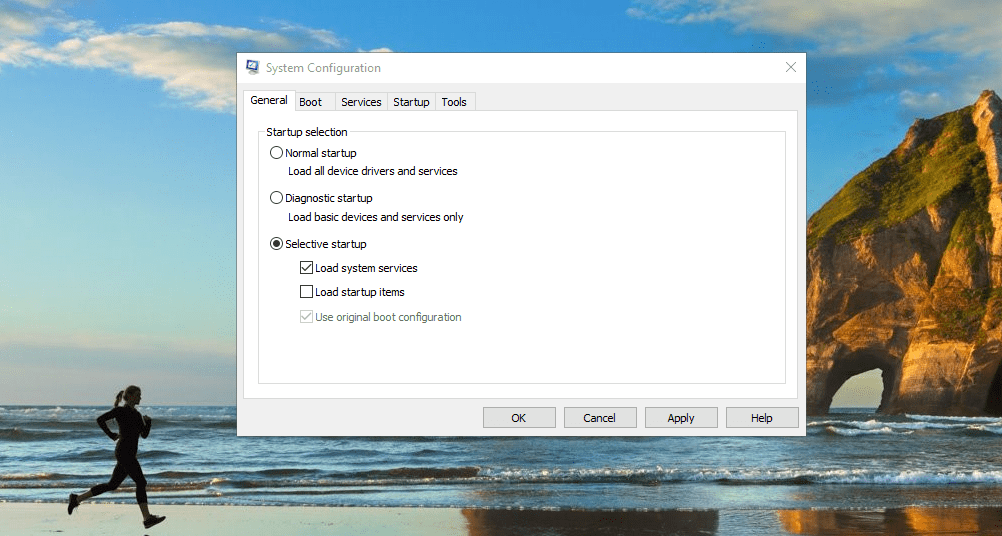
In the General tab, select Selective startup.
-
Uncheck Load startup items.
-
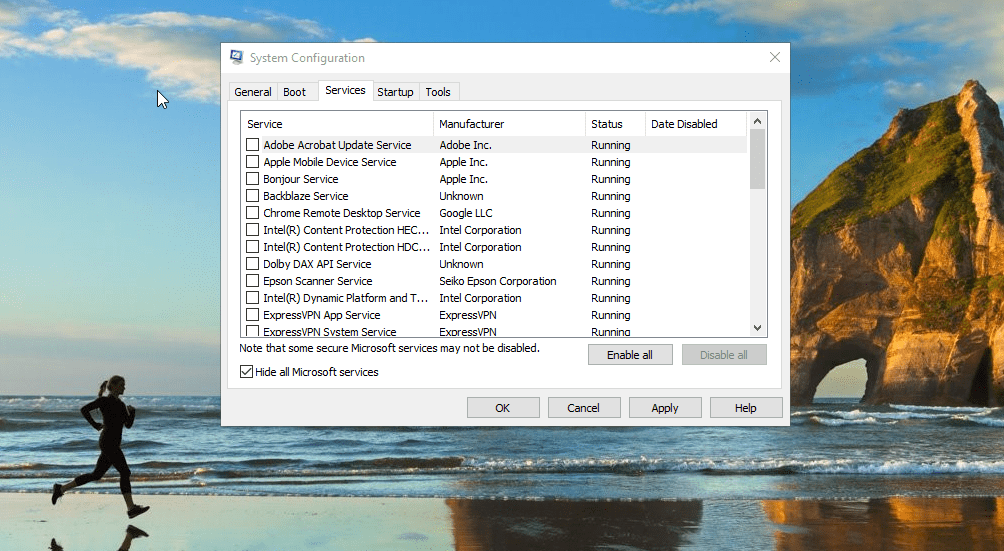
Go to the Services tab.
-
Check Hide all Microsoft services.
-
Click Disable all.
-
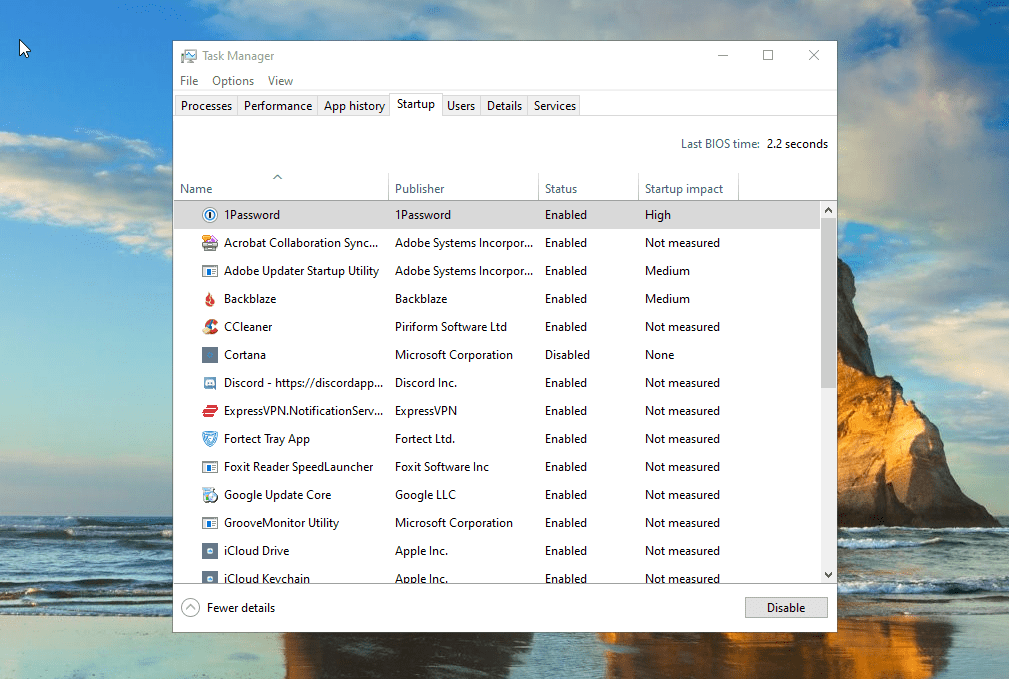
Open Task Manager.
-
Go to the Startup tab.
-
Disable all the startup programs.

Software that installs 9treghk.dll
| Software | File MD5 | File Version |
|---|---|---|
| b92c71d0ba7098f565520266e6b987d9 | 11.0.9600.... |